Before you succumb to the over-abundance of turkey and fixin’s and the pecan pie sugar comma, find time on this Thanksgiving Day to settle into a comfy chair with a good book, or slow stitching… or a good book about slow stitching.
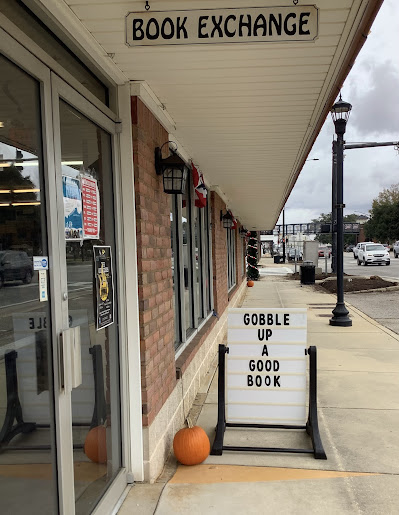 |
| Sign outside the Foley Book Exchange. |
The Foley Book Exchange
When my friends Leanna and Audrey had their quilt shop in L.A (lower Alabama)—Foley, Alabama to be exact—I had sales calls with them a couple of times a year. During one of my trips, I discovered the Foley Book Exchange. Since then, when I travel to the Alabama coast, I try to schedule a little bit of time, if at all possible, to peruse the vintage and out-of-print treasures on their shelves… or piled on the chair, or in the latest stacks of books on the floor that are awaiting the shelving process. If I limited time, I beeline to the Art/Hobby/Craft section (I know exactly where it’s located). Local (especially independent) book stores—like quilt shops—are on the top of my “Must-Visit” list when traveling!
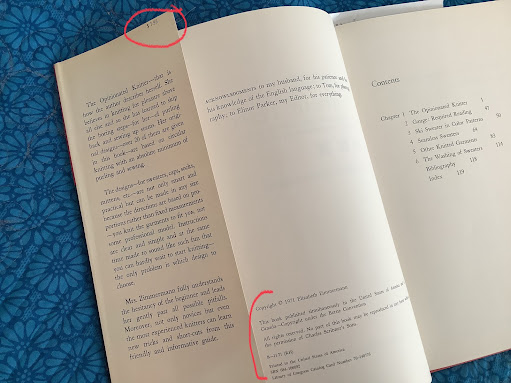
Earlier this month, I was again in Foley, and stopped at the Book Exchange. Much to my surprise and delight, this classic title, by the revolutionary knitter extraordinaire, Elizabeth Zimmerman, called Knitting Without Tears, was there for the taking! Needless to say, Knitting Without Tears (along with a few other books) came home with me.
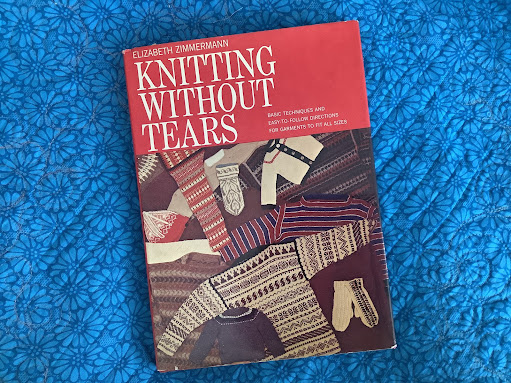 |
| Knitting Without Tears, by Elizabeth Zimmerman. |
This copy of Knitting Without Tears is a 1971 edition and in very good condition. The original price, as printed on the inside cover flap, was $7.95. Although the book didn’t have a colophon (being a typography aficionado, I looked), it was printed in the USA.
 |
| Knitting Without Tears, Copyright 1971, $7.95 original price. |
I started reading my new acquisition—which is Elizabeth’s first book—last night. The text is conversational in nature, authoritative and heart-felt, and has plenty of good points and examples that back up what she is talking about. This hardbound edition has the wide outside page margins, a functional serif typeface, ample leading, uses true small caps, and is printed on a durable paper stock.
Heed these Recommendations from a Revered Expert
The first chapter (there is no Preface or Foreword in this book) is called “The Opinionated Knitter.” The heading pulls you right in and gives an idea of how the author feels about herself as a knitter and about the art and craft of knitting itself. I’d like to share a few of her recommendations that are relevant today as they were in the 1970s. Her words, though directed toward a knitter, can readily apply to a quilter as well. Here they are:
Where to buy—go to the independent specialty shops
“… start off by going to the best specialty yarn shop or good department store that you can find. It is not wise to shop around for cheap wool [her yarn fiber preference] unless you are very experienced, or are willing to risk spending hours of work on an object that will shrink, fade or run. A well-made sweater, knitted with good will and good wool, is beyond price; why try to save a dollar on the material?”
How much to buy—any extra is insurance or for future projects
“When wondering how much wool to buy, ask the saleslady. She knows by experience. If she doesn’t know and isn’t interested, go to another store.” “Consult the nice expert in the wool shop, and if she doesn’t suggest taking an extra skein as insurance against running short, take one anyway. …think of what a disaster it would be to run short, and to fail to match the dye lot. Anyway, extra skeins are always useful for socks, caps, mittens, color patterns, or stripes.”
The corollary for quilters or sewers is to also buy a little extra. If it’s a fabric you love but don’t have a plan for it, the rule of thumb is "3 yards will be enough for borders" on a throw quilt or average size bed quilt. For garments, you may need to adjust the width of a hem, lengthen sleeves or pant legs. And, if you prewash (I always do this when sewing garments), you want to accommodate for any shrinkage.
Most fabric collections in the quilting market are “one and done.” So if you don’t get what you need for your project at the time of purchase, there is a good possibility the fabric will not be available after a few months… and a definite probability that your local quilt shop will not be able to purchase an additional bolt for you.
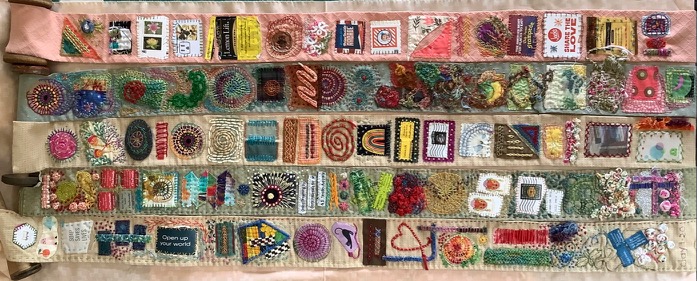
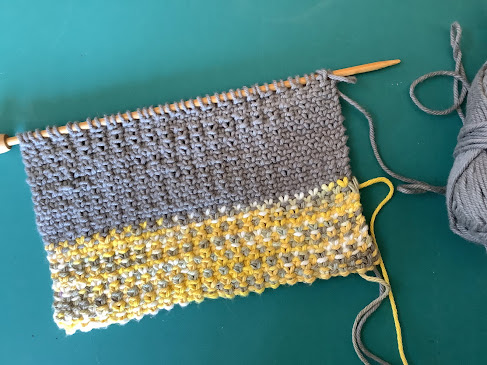 |
| Hand knitting with leftover yarns. |
Slow stitching maximizes your budget
Elizabeth says, “If you prefer to economize and love to knit, make your sweaters with very fine wool and many stitches.” “Fine knitting gives you many more hours of your favorite hobby before you have to sally forth and make another capital investment.”
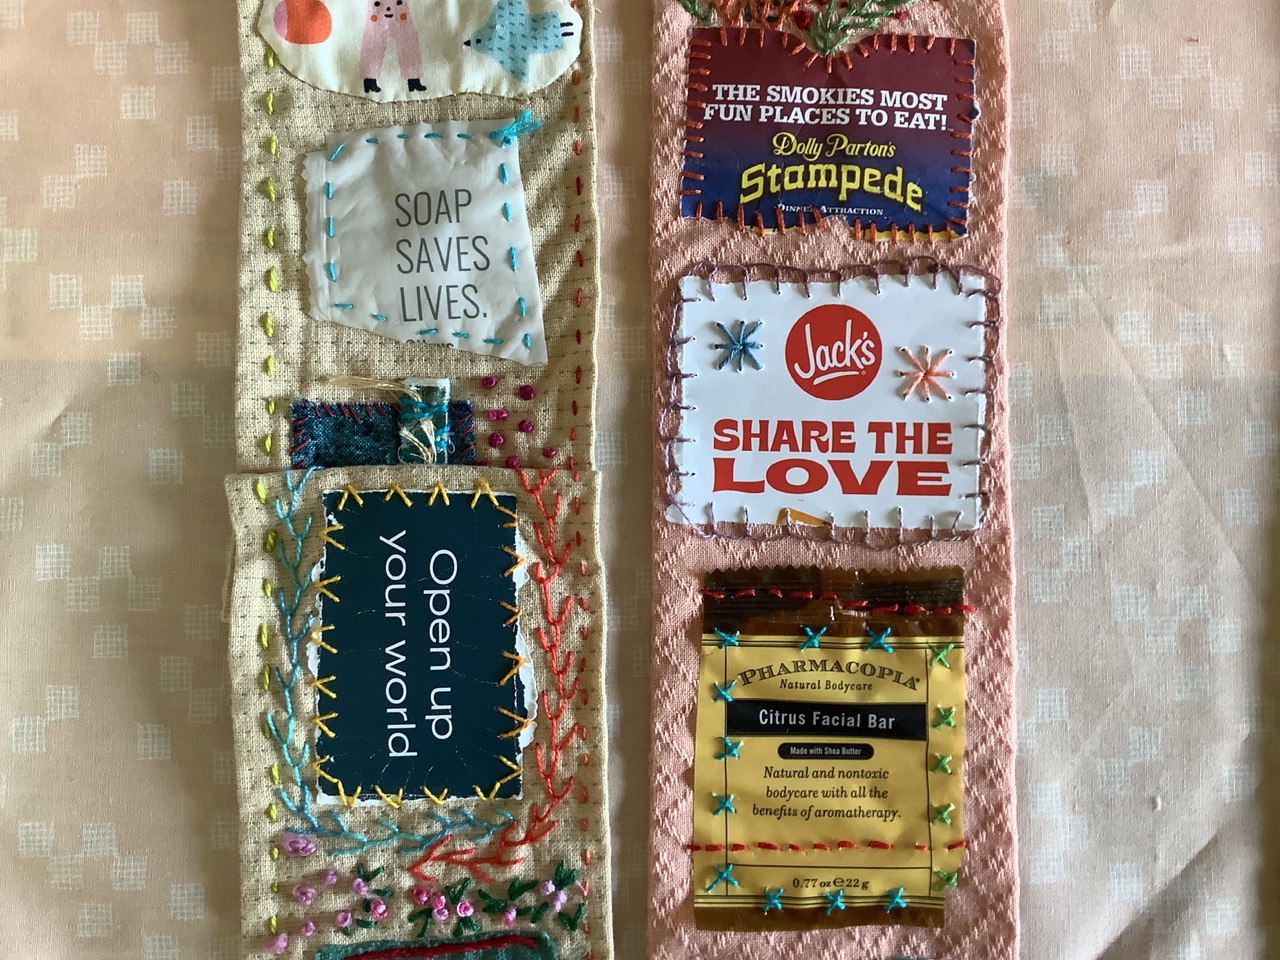
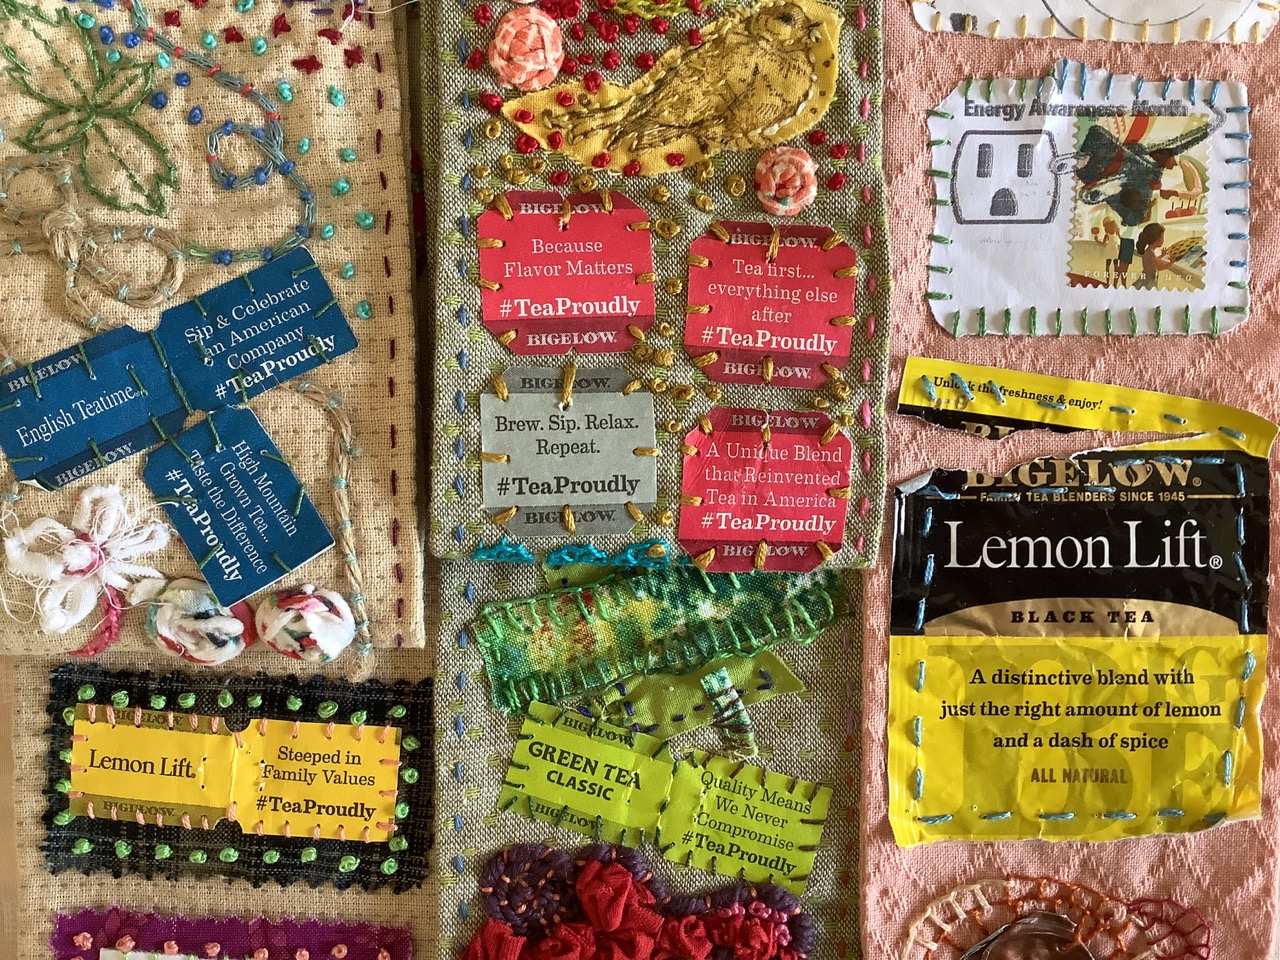
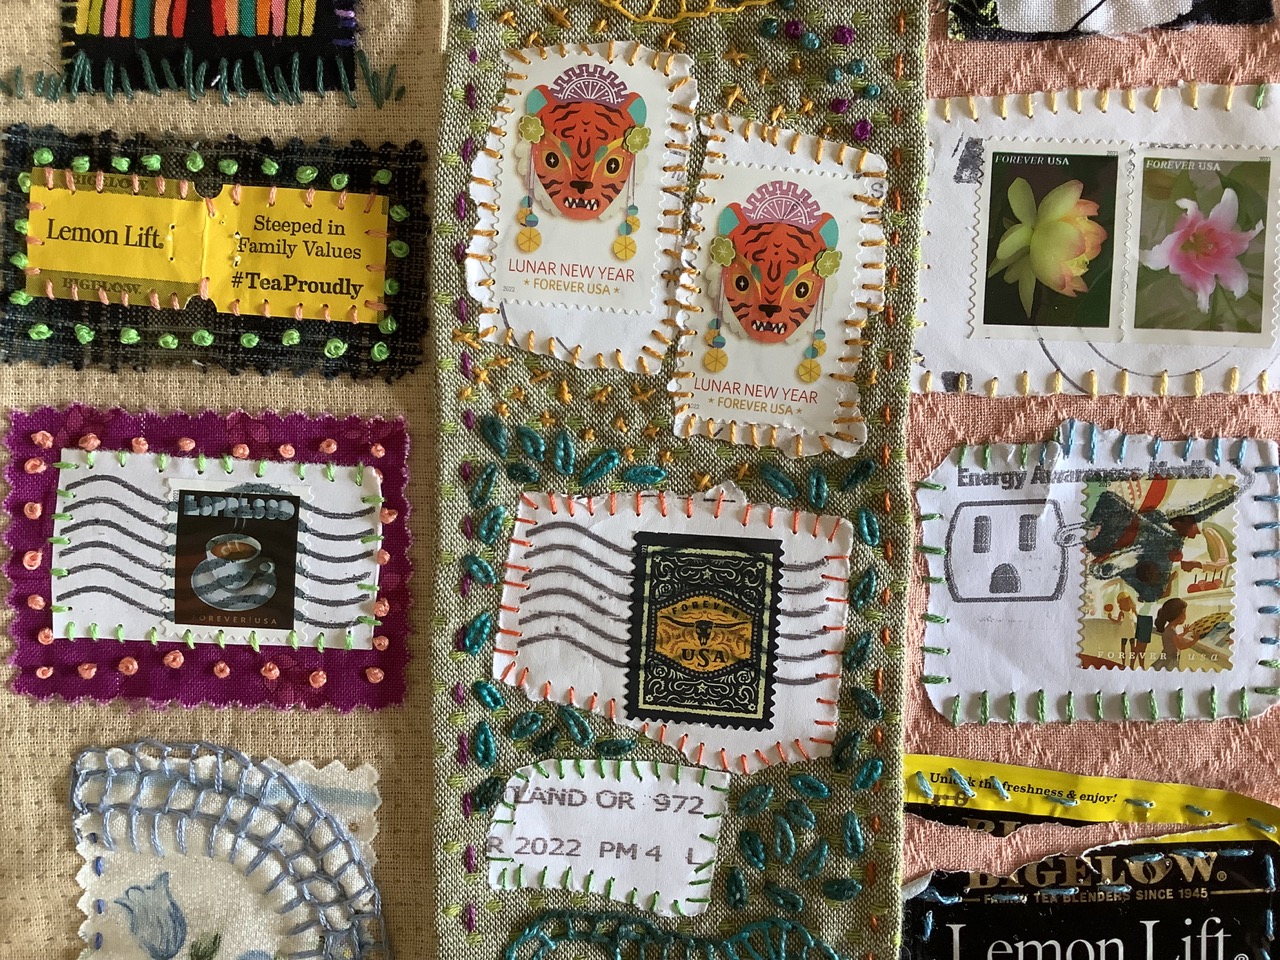
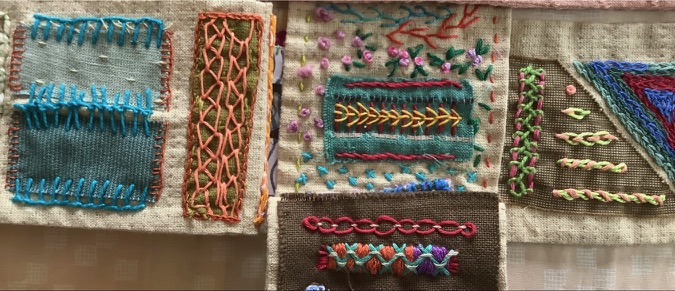
For quilters and stitchers: it doesn’t take a lot of materials and you won’t break the bank to get hours of stitching pleasure from handwork or slow stitching.
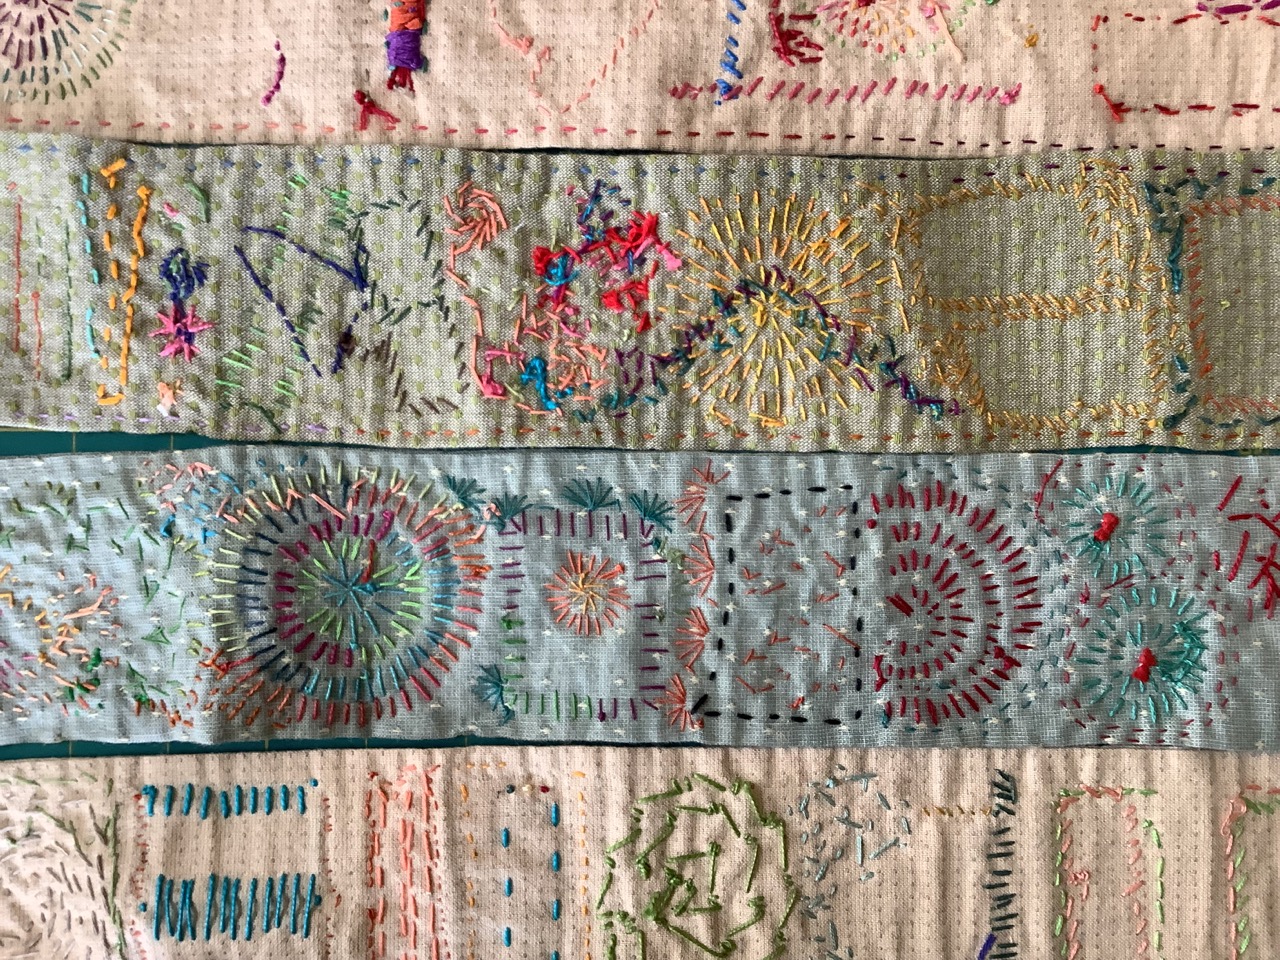
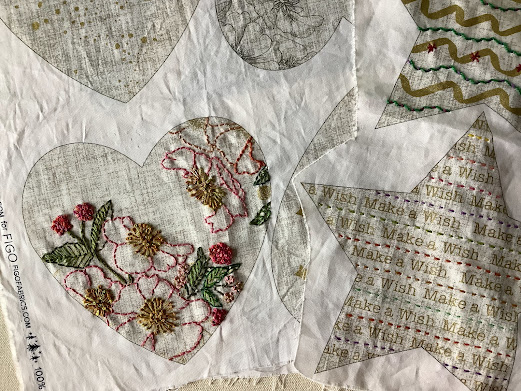 |
| Hand embroidery on printed fabric panel. |
Slow stitching “soothes the troubled spirit”
I’ll conclude with another quote from Elizabeth Zimmerman’s book: “… properly practiced, knitting soothes the troubled spirit, and it doesn’t hurt the untroubled spirit either.”
Enjoy slow stitching or a good book this Thanksgiving.


.jpg)