Showing posts with label #The100DayProject. Show all posts

Sunday, February 22, 2026

A second 100 Day Project for 2026: A Daily Scrap

I’ve decided to do a second 100 Day Project to introduce a co-worker to this wonderful, creative, art practice. So, in addition to The 100 Day Stitch Book, this 100 Day Project—A Scrap a Day—will coincide with the global 100 Day Project that begins today, February 22


A Scrap-a-Day 100 Day Project for 2026 

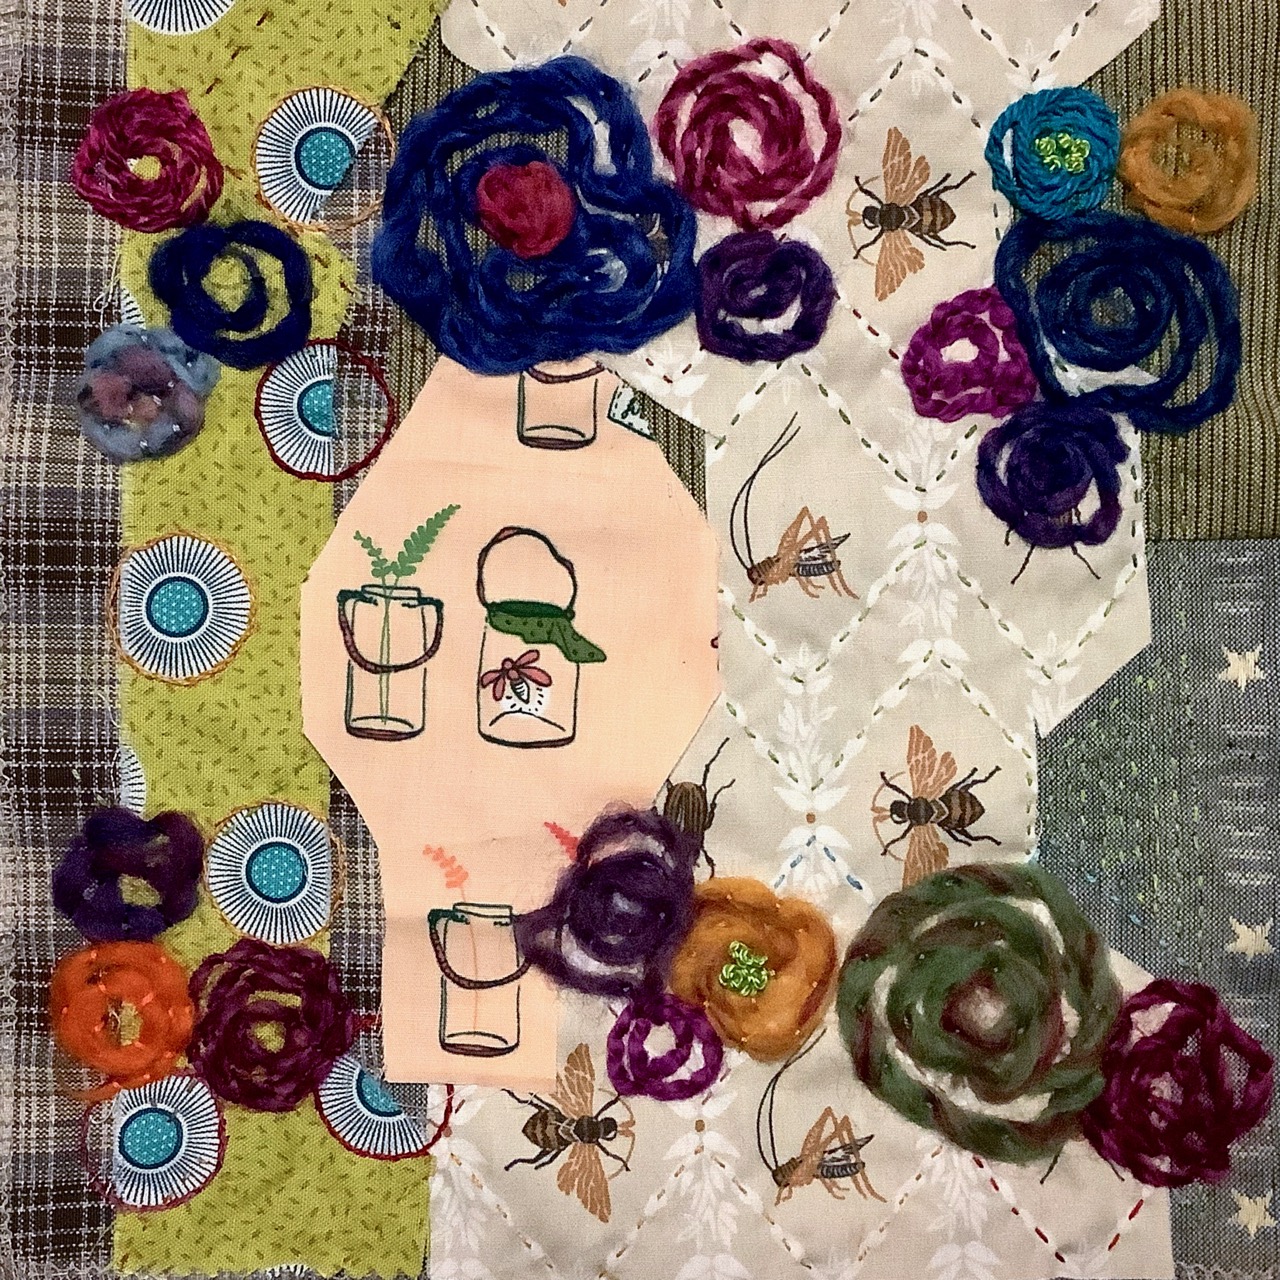
For my second 100 Day Project for this year, I’ll be collecting one scrap per day from found objects: fast food wrappers, receipts, packaging, bits of paper, daily detritus—items usually tossed or recycled without a second thought. It will be fun and freeing to work with items that already exist. Trash will become texture. Packaging will become pattern. These fragments and tiny artifacts of daily life will be put into a small junk journal—an appropriate vessel, it seems, for a collection of the mundane. 

Junk journal for my 100 Day Project 2026: A Scrap a Day.

This junk journal is 4.25” x 5.625”, a good, pocket size for the project. It has 

  • three signatures, 4” x 5.5” in size,
  • a paper cover with a 1/2” spine,
  • is pamphlet stitched. 

Three signatures pamphlet stitched to a cardboard journal cover.

I’ll be using a 1-1/4” square paper punch to fussy-cut the paper scraps. This square shape and the 1-1/4” size will be the unifying factor for the collection. But this will also be the challenge of the project—to capture a daily theme, idea, or event in that small format. I’ll see how it goes.

My new 100 Day Project junk journal and the 1-1/4” paper punch for the daily squares.

By using a junk journal for this project, the goal isn’t to make something polished. It’s building a record of days as they actually unfold. 

A sample of what the daily 1-1/4” square will look like on a page.

Do the 100 Day Project 

If you’ve ever thought about joining The 100 Day Project, this is your invitation! Pick something small—like this. Creativity doesn’t require new materials—just a little attention and commitment. Show up and let repetition do the work. 

One scrap at a time, I’ll be building a book of days. 

The history of the 100 Day Project 

Michael Bierut, once a professor at the Yale School of Art, started The 100 Day Project as a project for his graduate students with a simple but powerful idea: choose a creative act and repeat it every day for 100 days. No perfectionism. No overthinking. Just show up, do the work, and learn from the practice. 

Artists, designers, writers, and makers around the world have taken part each year, using the structure to build momentum, experiment, and reconnect with their creativity. Showing up daily can shift something in you. Even if the act feels small.


Saturday, January 17, 2026

A return to slow stitching with the 100 Day Stitch Book

There is something grounding and meditative about the ritual of daily hand stitching. Whether it’s a simple running stitch, tiny French knots, the randomness of the seed stitch, or the act of pulling thread through fabric, it serves as a quiet punctuation mark to the end of a busy day. Aside from being totally in love with the binding method for this fabric book, this is why I am participating in Ann Wood’s 100 Day Stitch Book Challenge again in 2026.  

Fabric pages for the 100 Day Stitch Book 2026, with my completed 2025 Stitch Book.

This is my second time participating in this project. The first was in 2025. The Stitch Book is not only a wonderful scrap buster project but a visual diary… remembering from where each fabric scrap was generated—from previous quilts, in a workshop, from fellow students in a class, in the throw-away bin, or simply found objects. They are fragments of memories from the past. 

The scrap collection box has a variety of prints.

My first book used trimmings from various improvisational patchwork pieces I made and were mostly solid fabrics. This time, my scrap “collection box” has a variety of prints (shown above). It will be a new journey to discovery. I’m also thinking about incorporating bits from my jar of yarn ORTs [odd random threads] to explore surface texture and layers. Scraps love other scraps, right??

Stitch book prep 

I’ve cut a variety of fabrics for my 5.5” x 7” pages. The majority are soft, supple, yarn-dyed wovens from Diamond Textiles with the addition of two blue pages from a chambray—because the color was so inviting and a lovely contrast to the neutral palette of the other pages. 

Cut and serged fabrics for the pages of the Stitch Book.

The edges of the fabric pages were serged since the fabrics will be handled a lot during the stitching process (a proven idea I used last year). I cut sixteen fabric pages in the 5.5” x 7” size and have reserved the last 4 pages for the front and back (inside and outside) covers which will be slightly wider in size. The extra width accommodates the thickness of the spine of this fabric book—another lesson learned last year. 

Scraps are ironed and ready for appliqué. 

A bundle of scraps for the appliqué has been ironed and I’ve gathered my ORT jar of yarn tails from last year’s Make Nine Taos crocheted wrap

Serged pages, ironed fabric scraps, and ORT jar ready for the 100 Day Stitch Book Challenge 2026.

The power of "Small and Often" 

The beauty of the 100-day format is that it removes the pressure of the “Big Masterpiece.” You aren't making a quilt; you are making a moment… stitching 15 minutes each day… the pages are only 5.5” x 7” in size. By the end of the 100 days, those moments build into something tactile and beautiful that you can literally flip through.

To everyone else picking up a needle and thread for this 100 Day Stitch Book Challenge—whether it’s your first time or your fifth—happy slow stitching! Stories and memories will unfold, one thread at a time.


Sunday, May 12, 2024

The 100 Day Project: Day 85 update

Happy Mother’s Day and Day 85 of my 100 Day Project 2024.

With only 15 days remaining of the 100 Day Project 2024Paint, Paper, Stitch, I’m posting my progress with some of my favorite watercolor and stitched compositions.

Day 14 composition: slow drawing, background fills.

The Day 14 composition (above) started with the flower shapes drawn with a black waterproof ink marker and a watercolor background fill. Around Day 73, color was added to the flower petals. On Days 74 and 75, the feather stitching was added to the petals. The french knots were added recently on Day 84. This is how these painted compositions generally evolve.

The composition below from Days 30 and 31 used the flat wash technique and is one of the first that included stitching. The stitching with the orange thread gives this composition a focal point.

Days 30 and 31: flat washes and background fills.

The composition for Day 32 is a second composition in painting flat washes with these oval shapes. This composition came to life with the stitching using the backstitch. The variation in thread weight (thickness), thread color, and overlapping the stitched oval shapes gave this composition a lot more interest than the painting by itself..

Day 32 composition: flat washes.

I experimented more with wet-on-dry painting techniques (glazing) on the Day 48 composition. I needed a painted background on which to practice the slow drawing “U” pattern. Wanting to test a new cotton thread from Scanfil, the seed stitch and french knots were added over a period of a few days. Perle cotton and embroidery floss were used for the color stitches. 

This composition has become more intricate and layered. I have not decided whether to add more stitching…

Day 48 composition: wet on wet painting, blooming, slow drawing

The Day 7 composition was a “walk the dog” painting exercise from Willa Wanders’ Watercolor for Relaxation course. It was also an early experiment with running stitches.

Day 7 composition: color mixing, flat wash exercises.

Create Daily Tracker

I continue to use my Create Daily Tracker for documenting a daily practice. During the 100 Day Project, the date square is colored with the sky blue colored pencil. If my daily process consists more heavily on another technique—free-motion quilting, slow stitching, garment sewing, etc.—the block is colored differently. I’ve had a few finishes during the 100 Day Project as well, which is indicated by a color other than sky blue.

Create Daily 2024 Tracker: May 12, 2024.

A snapshot in time of a daily creative process.


Thursday, March 7, 2024

18 days into the 100 Day Project

With over two weeks into my 2024 100 Day Project, 100 Days of Paint, Paper, Stitch, I've learned a few things already.

Watercolor painting: value exercise

By working through various exercises from the Watercolor for Relaxation workshop with Willa Wanders, these are my initial discoveries about watercolor painting.

  • I've learned that the brush size and the water::pigment ratio is important to get a smooth flat wash. I'm getting better at painting smooth flat washes.

  • I like the subtle color shifts when adding a mixed neutral to a color. It adds sophistication to the composition.

  • Although I thought a tear-out, perfect bound block of watercolor paper would be good choice for this project—so I could easily tear out an individual page for stitching—I would prefer a spiral bound sketchbook for painting. It's much easier to rotate the sketchbook page that I’m working on when the book is spiral bound. Spiral sketchbooks with perforated sheets are available so if I need to tear out a page to stitch, I can still do that.

Choosing thread colors for stitching.

Stitching on paper

My end goal of this 100 Day Project is to take watercolor compositions and add stitching to them. My discoveries with this are:

  • Choosing thread colors to match paint colors is more challenging. I am finding a lighter value of thread matches the paint colors better than a darker one. 

  • At this point in my process, I prefer the thread to add a subtle texture to the painted shapes rather than calling attention to stitching by using a contrasting thread.

Watercolor painting and hand stitching.

In addition to stitch, I’m combining slow drawing with the watercolors. More compositions are planned using multiple mediums.

Watercolor with slow drawing.

Old supplies with a new purpose

I'm using “tools from the past” for a new purpose! This has renewed my excitement for using these tools again. This flat wash exercise uses a quilting stencil.

Color mixing exercise using a quilting stencil.

A plastic drafting template that I used with rapidograph pens on paste-ups "back in the day" was used for this color mixing exercise. 

Using a drafting template for watercolor exercise.

I am enjoying the slowness of watercolor painting. More complex designs and the compositions that require color mixing take longer to complete. This contributes to relaxation and mindfulness of the process in this 100 Day Project.


Saturday, February 17, 2024

My 100 Day Project for 2024: Paint, Paper, Stitch

I'm doing The 100 Day Project again this year! It starts tomorrow—February 18.

#dothe100dayproject   @dothe100dayproject

100 Days of Paint, Paper, and Stitch

For 2024, I'm going to combine watercolor painting on paper, and stitching. (I'm thinking hand stitching since it's portable, but I'm not ruling out machine stitching). 

Supplies for 100 Days of Paint, Paper, Stitch

The 100 Day Project Plan for 2024

I've got the supplies on hand and they are all portable:

  • watercolors 
  • brushes, including the aqua brushes with the build-in water reservoir (not shown above)
  • watercolor paper
  • floss, perl cotton, threads for stitching
  • needles, scissors, sewing accessories

I will likely start off with watercolor practice exercises as I'm enrolled in a Willa Wanders Watercolor for Relaxation class. Once I've got some watercolor techniques under my belt, I'll experiment with stitching through the painted watercolor paper. I did stitching on paper while working through the Junk Journal January Challenge in 2023 and 2024. I think this informed the idea for this year's 100 Day Project. 

Being open, being flexible

Should the mood strike, I'm open to adding stamped images using my hand-carved stamps, hand lettering, and slow drawing to the compositions. I practiced and developed these techniques in previous 100 Day Projects. We'll just have to see how things evolve...

Open up your World is one of the stitching with found objects compositions from my 100 Day Project in 2022. 

Open up our World, 100 Days of Stitching with Found Objects, 2022

That says it all.

Just do The 100 Day Project!


Saturday, January 27, 2024

The 100 Day Project 2024 starts February 18

Are you ready? Do you have your idea for this year? Here's the "heads up"! The 100 Day Project for 2024 starts February 18.

The 100 Day Project 2024 starts February 18.

How did The 100 Day Project get started?

I love this story! Read Michael Bierut's essay in Design Observer about how he gave this assignment to his graphic design students at the Yale School of Art. There are many examples of the projects his students took on. My favorite is the one about the clunky wooden folding chair. 

So really, ANYthing is possible.

Make your plan

I started doing the 100 Day Project in 2021. I've done 6 projects since then:

Recommendations and FAQs from the 100 Day Project coordinators for choosing a project: 

Deciding on a 100 Day Project.


Get your idea and supplies ready

I've got a pretty good idea of what I'll be doing this year. My suggestions for choosing a project are:

  • make it manageable: don't try to create a masterpiece for every day! You'll burn out quickly.
  • make it simple: it can be one row of knitting, a line of stitching, hand lettering a single quote on a page in a sketchbook, a doodle a day, a simple line drawing... 
  • make it small: since I take this on the road, my supplies are minimal—something I can put in a small ziplock baggie. You know what you and your life can manage.
  • think of something you can do in about 5 minutes. We can all scrounge up 5 minutes, right? Do it while you sip your cup of coffee or tea. Do it when you brush your teeth. Do it right after dinner. If you are enjoying the process and you have a little more time here and there, you can extend the time you're creating.
  • share your practice: if you're on social media, come up with a unique hashtag for your project and share your daily (or weekly, if that works better) progress. You'll be both inspired and encouraged by the others who are participating.

I hope you'll join in the fun! I've gotten so, so much out of the projects I've done in the past—learning something new, honing certain skills, using my stash/supplies/tools, and earning and relishing in that sense of accomplishment when I cross the 100 Day finish line.

It's free. 

Just DO IT! 


Monday, July 3, 2023

Discoveries while doing 100 Days of Textile Collages

I wrapped up my 100 Days of Fabric and Stitch Collage project at the end of May. I have 18 stitched compositions that eventually will be made into a textile book... that's the plan, anyway.

Detail of stitching on fabric collaged composition.


Discoveries

2023 is my third year doing The 100 Day Project. I always learn something from the process or at the very least, I get more proficient with some skill or technique that in which I'm interested. Here are my discoveries from this year's 100 Days of Fabric and Stitch Collage.

  • A composition takes as long as it needs to take. At the beginning of the project, I planned on spending [exactly] 5 days on each composition. 20 fabric squares x 5 days each = 100 days. I learned that some compositions come together in a flash, but others need more time to develop and refine. I quickly learned this by Day 12.
  • Yarn, string, thrums and knitted swatches add dimension. When I dove into a basket of old knitted swatches and a jar of yarn thrums, my compositions become more dimensional. This was fun! Clipped yarn tails, knitted gauge swatches, frogged swatches, dyed cotton string from a shibori project, tatted motifs with mistakes, and other leftover yarns and other odd bits brought dimension and variety—and a lot more interest—to the collages.
Tatting, felted wool, yarn-dyed wovens and printed cottons.

Unraveled knitting and novelty yarns couched over fabric scraps.
  • 1 - 6 strands of embroidery floss—all good choices. The weight of a stitched line can be varied by using 1, 2, 3, 4 and 6 stands of embroidery floss. I used all of these on various compositions throughout the project. 
Running stitches with 1 or 2 strands of embroidery floss.
Couched floss around flower petals and leaf shapes.
  • A diversity of fabrics. Hand stitching with the yarn-dyed fabrics [from Diamond Textiles] was such a dream! All the background fabrics for my collage compositions were from Diamond Textiles. Various fabrics were used for the collages—yarn-dyed wovens, quilting cottons, batiks, a cotton knit scrap, and a printed linen. The linen was difficult to needle, which was surprising to me.
Yarn-dyed wovens, batiks, printed cotton fabric.
Running stitches, couching, satin stitch, French knots, blanket stitch.

Combining yarn-dyed wovens, quilting cottons and a cotton knit (center).
  • Couching. I really enjoyed the couching stitch. Couching yarn, string, tatted bits... I am enamoured with this stitch!
Couched yarns with French knots.

Dyed cotton string couched over blanket stitch rounds.
  • Stitches are not permanent! Stitching is not like mark-making with ink or paint (thank goodness). There were a number of times that I took out stitches—either the stitch was not appropriate (couching was better than a back stitch), the thread color was not the best choice, the stitch was poorly formed, etc. You don't have to go with the first decision. Over the 100 days, I became less and less hesitant about taking out stitches if I wasn't satisfied. Re-do it if you don't like it!

Embracing the imperfection of frayed edges

Since the collage fabrics were all scraps and fabric swatches, the edges were left frayed or pinked. I liked the organic quality of the frayed edges as well as the texture they provided. It also allowed the process to be spontaneous and relaxing... the wabi-sabi aesthetic.

Frayed and pinked edges of a discontinued fabric sample.

Running stitches with cotton sashiko thread. Couched yarn thrums.
Yarn-dyed wovens and printed cotton scraps.


Documentation

Documentation and progress posts from this year's 100 Day Project can be found here:

Prepping fabrics for textile collages

Stitches used on my collage compositions: blanket stitch, running stitch, couching, French knots, lazy daisy, back stitch, satin stitch, chain stitch (and maybe one or two others).

Daily photos of 100 Days of Fabric and Stitch Collage are posted on my Instagram feed at @veronica.fiberantics and #100daysoffabricandstitchcollage.  

The backs of these pieces are interesting, too.

Back of composition with couched yarns.


Sunday, May 14, 2023

Quotes about mothers and other strong women

For Mother's Day, a few quotes from my 100 Days of Hand Lettering project.

"When your mother asks, "do you want a piece of advice? ..."
—Erma Bombeck

"God could not be everywhere, therefore He made Mothers."
—Rudyard Kipling

"Strong women never give up."
—from Women Who Lead Empires


Wednesday, April 12, 2023

Six days of stitching the Secret Trellis Garden

Working in the garden is often challenging, but it's also rewarding when you see the fruits of your labor. This composition, called the Secret Trellis Garden, is one from my 100 Days of Textile Collage project. This garden grew over the course of 6 days.

The Secret Trellis Garden
from 100 Days of Textile Collage project 2023.

Days 1 - 6

The beginning of this collage truly started with fabric leftovers—scraps from fussy cutting hexagon shapes for English paper piecing (EPP). You can see where the hexagons have been cut out. The background is also pieced from cut-offs from previous projects.

Secret Trellis Garden Day 1: running stitches in a zigzag pattern.

Following the design on the print, the scraps were appliquéd to the base in a zigzag (or "trellis") pattern. Unknown to me, the seeds for this stitched garden had been planted from the inception—with the trellis. 

Secret Trellis Garden Day 2: outlining the circle motifs.

The trellis was build (stitched) over the first two days. By Day 3, I needed to figure out how to bridge the two appliqué pieces to make the piece more unified. See that odd-shaped dark background showing through between the two appliqué pieces? That was the problem.

I incorporated yarn thrums in a previous composition and felt it was successful. So, auditioning thrums and other ideas was needed to bring cohesiveness to this one. 

Auditioning placement for yarn thrums.

The addition of another lighter fabric solved the problem. 

With the addition of a third fabric, the prints started to tell a story. The bees, grasshoppers, circles (flowers), the mason jars... all began to converse in this textile garden.

With another piece of fabric added, the lighter value made the composition mor unified.

The next obvious step was to turn the composition 180 degrees so the grasshoppers were right-side-up.

Secret Trellis Garden Day 3: rotating the work 180 degrees.

With the garden theme secured, it was time to add blooms and greenery. The yarn thrum spirals transformed themselves into flower blooms. French knots formed the flower centers. The beetles (the "crunchy" bugs) disappeared beneath flower petals where they belong.

Couching the yarn thrum flowers (in progress).

On Day 4, the garden took shape.

Secret Trellis Garden Day 4: yarn thrum blooms and stitched leaves and vines.

Day 5 focused on details: more French knots in the flower centers and the circle motifs; fireflies stitched in a doubled fly stitch; stem stitch outlines on the glass jars; stitched leaves with fly stitches supported the flowers.

Secret Trellis Garden Day 5: stitched flower centers, vines, leaves and fireflies were added.

On Day 6 the final touches included additional leaves and greenery, background kantha stitching, feather stitches at the bottom to ground the vines.

Secret Trellis Garden Day 6: the final composition.

In an outdoor garden, the work can been realized in the outcome. With a stitched garden, the work can be seen by looking at the back!

Secret Trellis Garden (back view).

The halfway point of the 100 Day Project

Today is Day 50 of the 100 Day Project 2023. The Secret Trellis Garden is my 8th textile collage composition.


Related Posts Plugin for WordPress, Blogger...