Showing posts with label bookmaking. Show all posts

Saturday, December 20, 2025

Make Nine 2025 photo recap

Although I completed Make Nine 2025 in October, I like to do a recap blog post of the year’s projects—to see photos of them all in one place and “compare and contrast,” the projects, so to speak.

Make Nine 2025 projects, fulfilling these prompts:
Top row: UFO, Mend/Upcycle, UFO
Middle: Make it Again, Simple and Stress-free, Online Challenge
Bottom: Wild Card, Yarn, Wild Card

Above is a photo grid of my completed projects. The grid corresponds to my Make Nine tracker (below). 

Make Nine 2025 tracker at the beginning of the year.


Make Nine 2025 summary

The prompts I chose for Make Nine 2025 were similar to past years. Interestingly, 2025 generated a lot of “books”—five in total—constructed with paper, fabric, or both. The remaining four finishes consisted of two wearables, a mended vintage quilt, and charity quilts—with a glorious batch of kitty quilts that get donated to local veterinarians. Below is how each prompt was fulfilled (left to right, from top left), with links to their stories.

  • Make it Again: I used a favorite Siena Shirt pattern and a fabric collection called, Perfect Points for this shirt. Blog posts about other versions of the Siena Shirt and various garment makes can be found here. (finish #4)

  • Simple and Stress-free: I continue to make scrappy, improv, charity quilts for the cats and dogs at the local vets. I donated 16 in March, and completed 3 additional during the remainder of the year. I also finished 3 cuddle quilts for charity in December. Total charity quilts = 23. (finish #2)

  • Wild Card 1: was another fabric book made through participation in an online Challenge, the 100 Day Stitch Book 2025. This stitch sampler book was the impetus for the UFO 1 project, which used the same bookbinding technique. (finish #5, book #2)

  • Yarn: I made a vow to myself that this year’s yarn project was going to be a stash-buster. I succeeded in using only yarn from a shop-and-swap, an impulse yarn purchase from several years ago, and yarns from my stash. The Taos wrap (crochet) was a brilliant success and I love the finished piece. (finish #9)

  • Wild Card 2: was another junk journal from participation in the Junk Journal July Challenge, an online challenge. This was my 5th junk journal. I enjoy making and working in handmade junk journals and I know I’ll be making more. (finish #8, book #4)

Make Nine 2025 tracker, December 20, 2025.

I’m pondering prompts for 2026—my 8th year! I may have to include a “bookmaking” prompt next time…


Sunday, June 22, 2025

A coptic bound journal for Junk Journal July 2025

Gather up your colorful paper scraps, bookmaking rejects, surface design samples, workshop uglies, old calendars, and trash can rescues. Hit the recycle bin and get prepped for Junk Journal July!

A collection of printed, decorative, and recycled papers for a junk journal.

Inspired by an annual artists retreat, a group of my “art camp buddies” and I are jumping into Junk Journal July 2025 in effort to continue with our art practices—which was a topic of discussion at several meals.

Junk Journal July is an easy and forgiving, low-stress Challenge, with minimal expectations—except to work at our art practice for the entire month of July. We’ll be supporting and cheering each other on next month for 31 days! 


Using the coptic binding method 

I’ve participated in the Junk Journal Challenge four times. For my last two journals—Junk Journal July 2024 and Junk Journal January 2025—I’ve made accordion style no-sew journals. After a recent demonstration on the coptic binding, however, I decided to get more practice with this book binding method and use it for this year’s Junk Journal July.

Coptic bound junk journal.

The coptic bound book has specific characteristics that are very conducive to junk journaling:

  • the book opens flat, making it easy to work in.
  • the spine of the book is exposed and can accommodate any number of signatures.
  • coptic binding can accommodate a soft cover, so you are able to use recycled materials for the cover in addition to the inside pages.

Making my junk journal

My junk journal is 8” square. (I like the square format for Instagram posts.) It has 5 signatures, plus front and back covers—86 full pages and a few short or partial pages. I like to use recycled papers to construct my junk journals, but any journal is absolutely OK to use! The important part is that you work in it!

Junk journal front and back covers.

Because various weights and types of paper were used for the pages in my journal—text papers, magazine pages, mixed media paper, mailing envelopes, cover weight papers, packaging from from a bag of sugar, and a sheet of watercolor paper—in order to (somewhat) maintain the same thickness, the signatures for my journal contained between 4 - 6 folios each.

Journal covers and various papers for the inside pages.

When making a junk journal, remember that’s what it is—a JUNK journal. It’s made of recycled materials and not meant to be perfect. And it will definitely get thicker, bulkier, and more interesting (and fun) when the various items get pasted into it. 

My thoughts for creating a “perfectly imperfect” junk journal are:

  • Use what you have! I recycle saddle stitched catalogs and sales booklets for my journals. Get out the staple remover and then trim the pages to your desired folio size. The fold is already set and you’ll know the paper’s grain is correct—parallel to the spine of the book.
Removing staples from a saddle stitched catalog.
  • Short pages are welcome. When making folios, if the sheet of paper is not the needed size (16” long is the folio size for my journal), it was folded to accommodate one (8”) page and the other page was short.
  • if you don’t want a short page, paste something onto it to make it longer.
Example of a short page in the journal.
  • use paint and/or collage to cover up distracting or unwanted text and images on the pages.
  • if a page seems too “wimpy” to work on, glue two lightweight pages together to make them stronger/thicker.
  • I include at least one folio of a watercolor paper (for painting) and a few uncoated, blank pages for ink drawings, sketches, and hand lettering.
  • I like to add envelopes or pockets into the journal to store ephemera and extra paper bits.
A recycled envelope serves as a pocket for small paper bits.
  • I paste the daily prompt list at the front of the journal for reference. The printable, provided by Creativity and Coffee, is in a Google drive here.
Daily prompts for Junk Journal July 2025.

Here is my junk journal for Junk Journal July 2025.

Junk journal for Junk Journal July 2025. Size is 8” x 8” x .75”.

Pre-work and collage fodder gathering

Before July 1, when Junk Journal July begins, here are a few activities that get me prepared for a month of journal art making.

  • research quotes or poems related to the prompts. This can provide a direction in which to respond to a prompt and a source for hand lettering. 
  • pull out the acrylic paints and paint backgrounds on pages. An interesting/colorful page is more approachable than the intimidating blank white page.  
  • gather paper scraps and ephemera to tuck into envelopes for collage fodder.
  • fussy-cut images from calendars, junk mail, catalogs, etc. for collage fodder.
  • replenish my supply of glue sticks.

But first, I need to clean up the work table from making my journal…

The work table needs tidying up!


Sunday, January 22, 2023

Art journaling the month with Junk Journal January

I have a collection of really cool art supplies—acrylic paints, gel mediums, stencils, various papers and collage materials—from several workshops I took at Ephemera Paducah. I love these supplies! And it's fun to get messy and creative with them. But it's been a while...

Junk Journal January 2023.

Happily, serendipity presented itself in December when I discovered the Junk Journal January Challenge, an online challenge hosted by Meg of @megjournals. This would be just the thing to motivate and inspire me to work with my art journaling supplies. 

Making my Junk Journal

A junk journal is the perfect recycling project! Go to the waste basket and pull out all kinds of papers— brown paper bags, old envelopes, mailers, old calendars, cereal boxes, etc.—in essence, "junk." For my journal, I recycled old sales boards and flyers for my 3-signature, hand sewn journal.

Recycle old papers and envelopes to create a junk journal.

Three signatures were sewn into the spine. Each signature is between 16 - 24 pages. The journal cover is 8.5" x 5.75" and the inside pages are slightly smaller at approximately 5.5" x 8.5". I made the cover slightly larger to accommodate any collage elements or embellishments that might extend beyond the inside pages.

Journal spine showing three signatures sewn into it.

Filling the journal pages with art

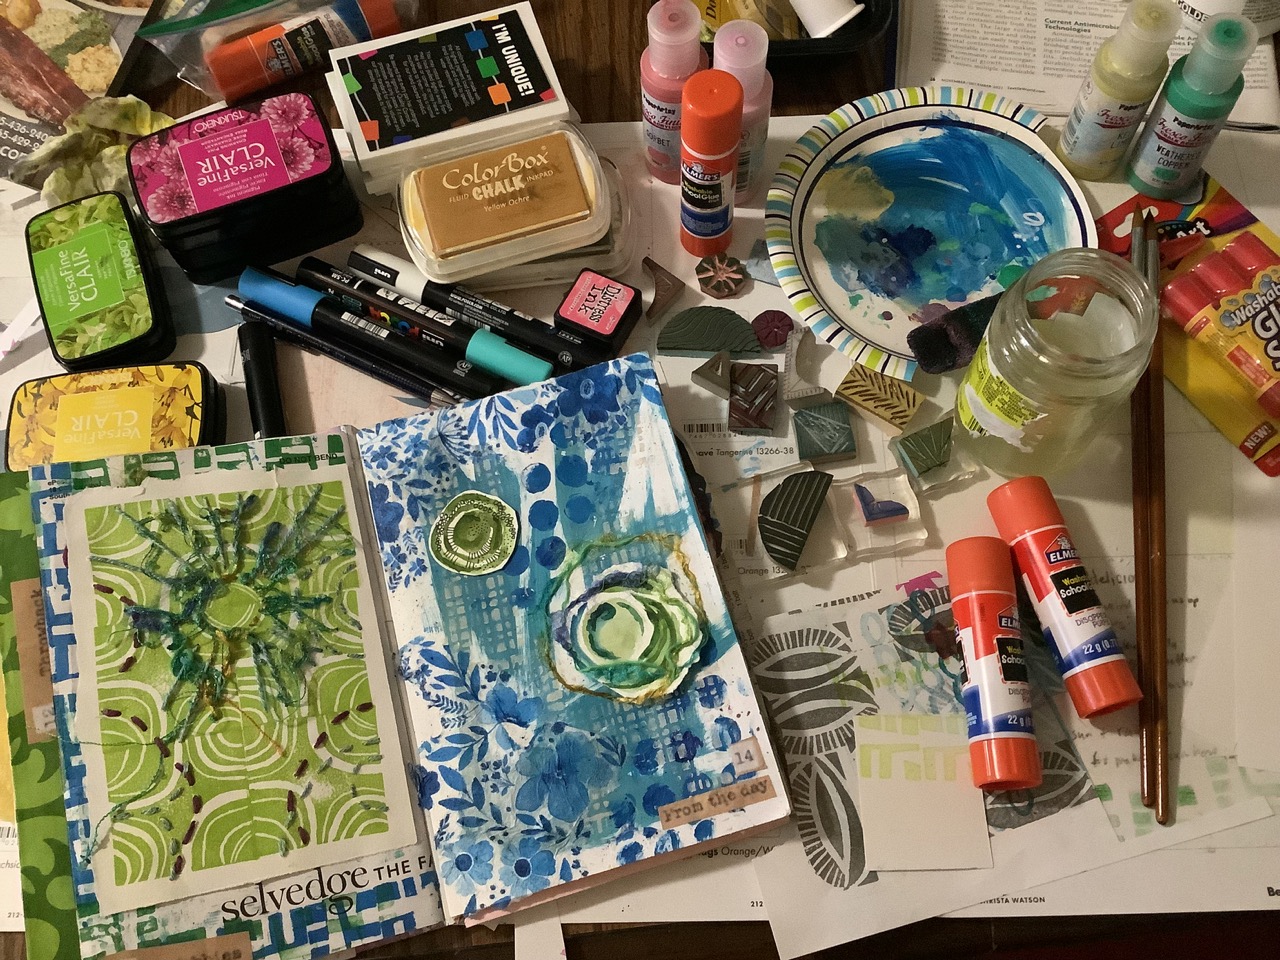
Bring out all the art-making goodies: paints, brushes, stencils, glue sticks, my hand-carved rubber stamps, decorative tapes, and collected ephemera! A box of yarn crumbs, paper bits and cut-offs from other stitching and art projects were also gathered to play along in this art festival. 

Work area with junk journal supplies and tools.

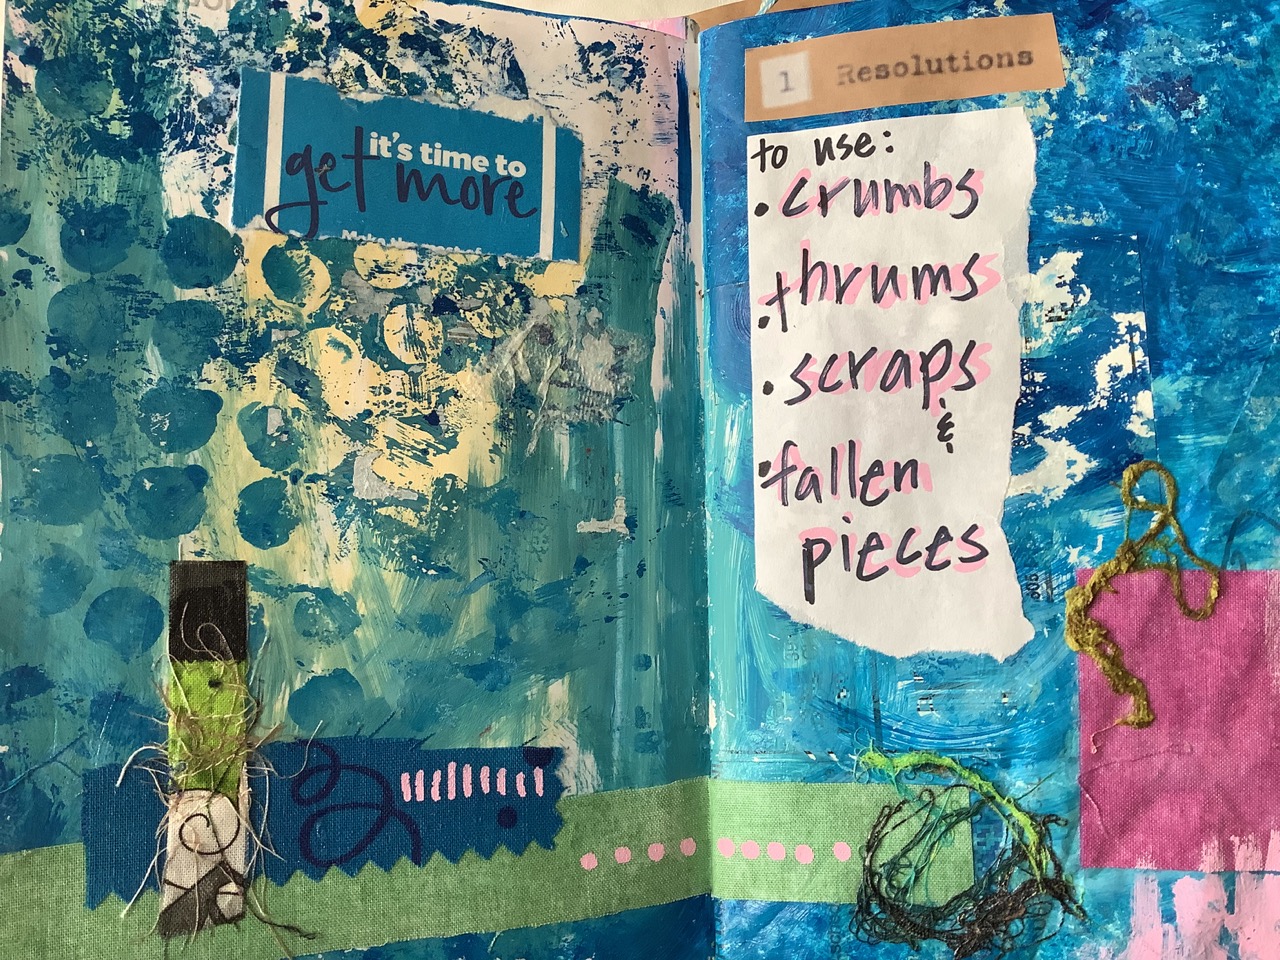
The Day 1 prompt was "Resolutions," which turned into my prescription for what to use in my journal. Lots of the other participants interpreted this prompt in a similar way. (Who makes New Year's resolutions any more, anyway??)

Day 1 prompt: Resolutions.

Responses to the daily prompts can be single pages or 2-page spreads. Here are other pages and spreads that have been created in my junk journal so far.

Day 2: Starry (left) and Day 3: Stained (right).

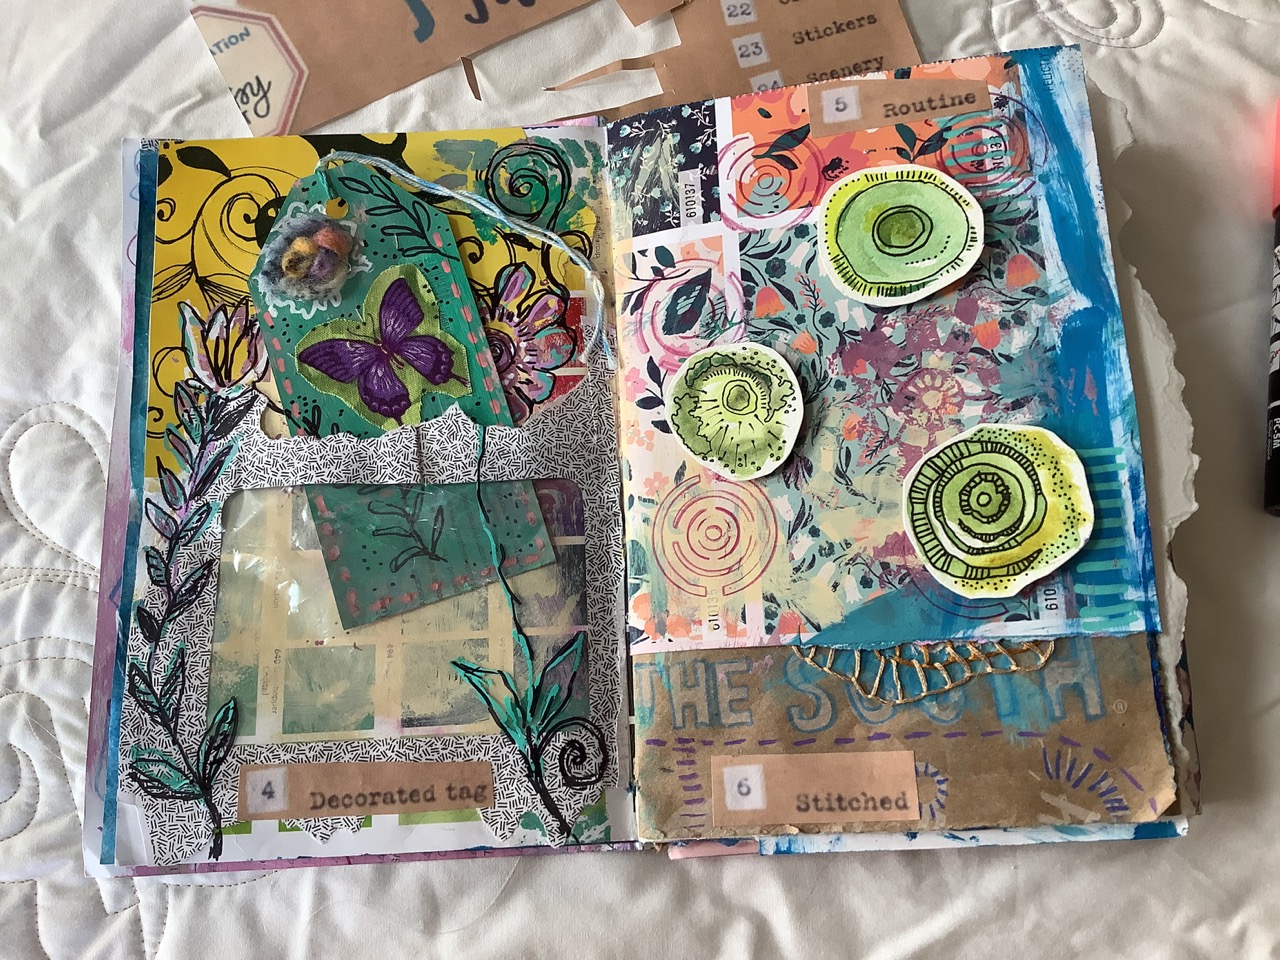
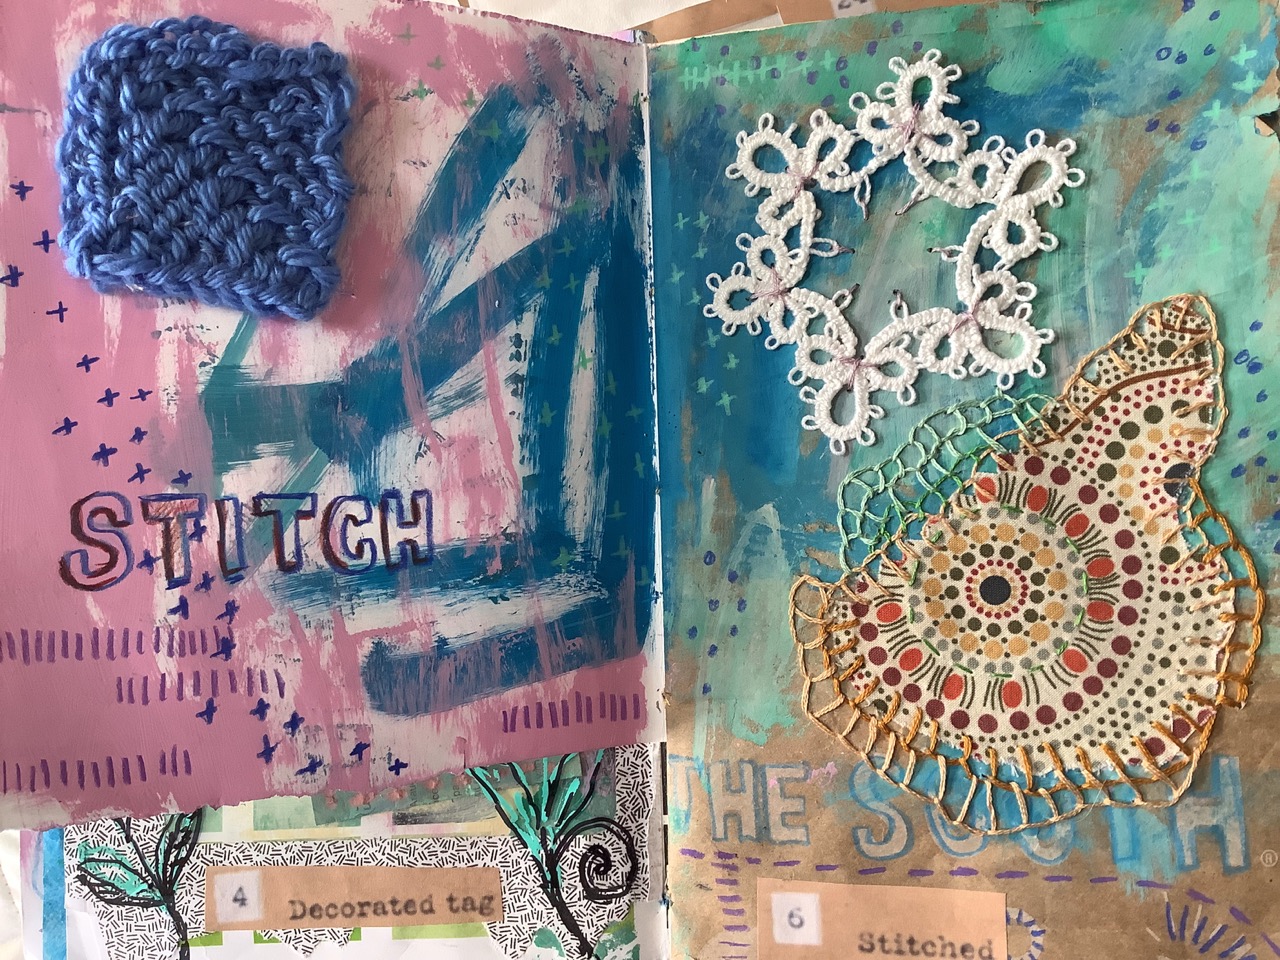
A junk journal is also a great space to try out new art supplies... like Posca paint pens. The page for the "Decorated Tag" prompt was fittingly embellished with these pens. 

Day 4: Decorated Tag (left) and Day 5: Routine (right).

The "Stitched" prompt deserved a 2-page spread. Strands of embroidery floss, knit swatches and other bits from the yarn box came into play for this prompt.

Day 6: Stitched

Sometimes I find a quote that incorporates the prompt.

Day 9: Shimmer

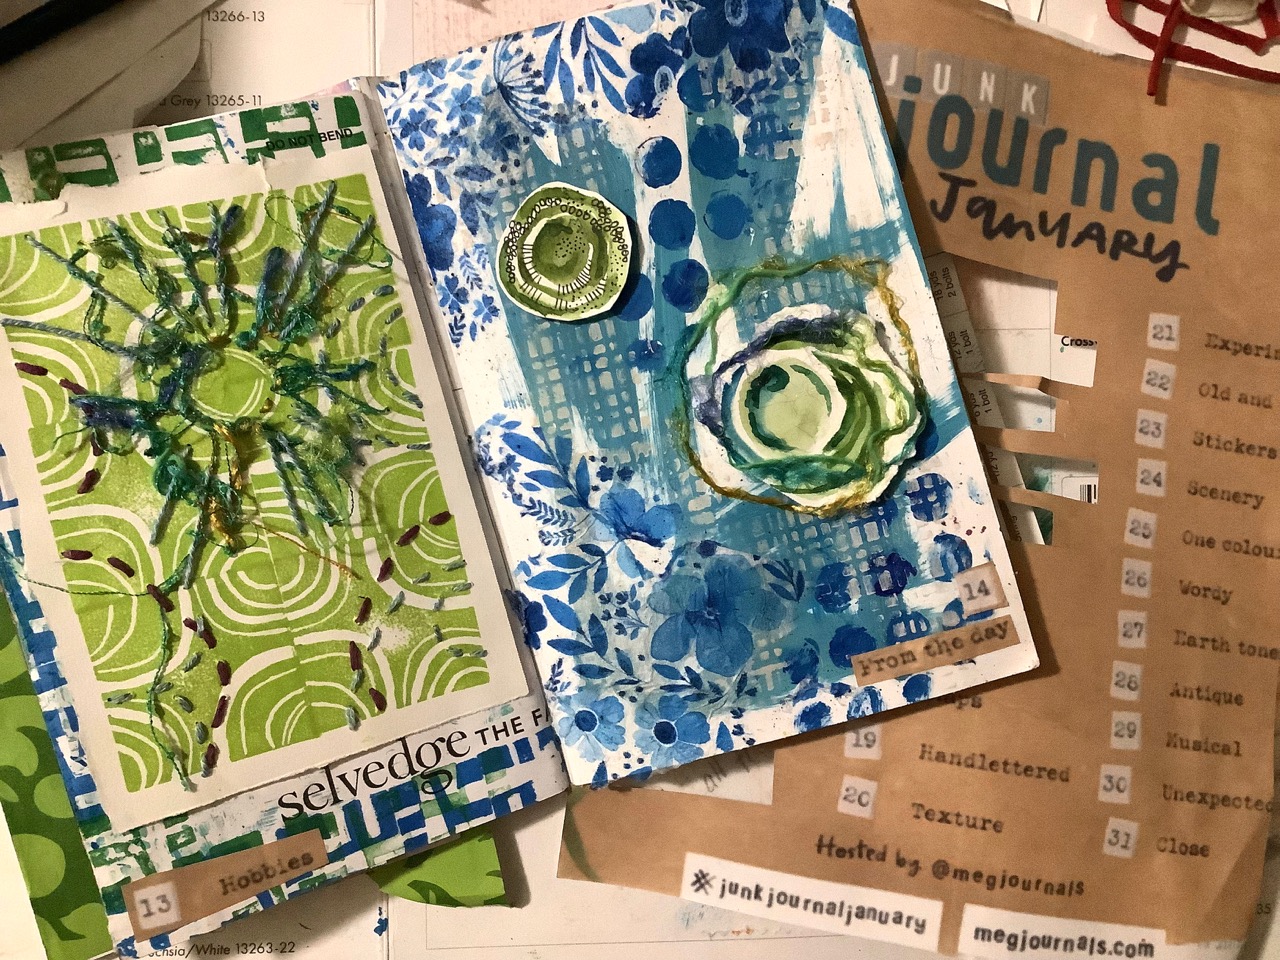
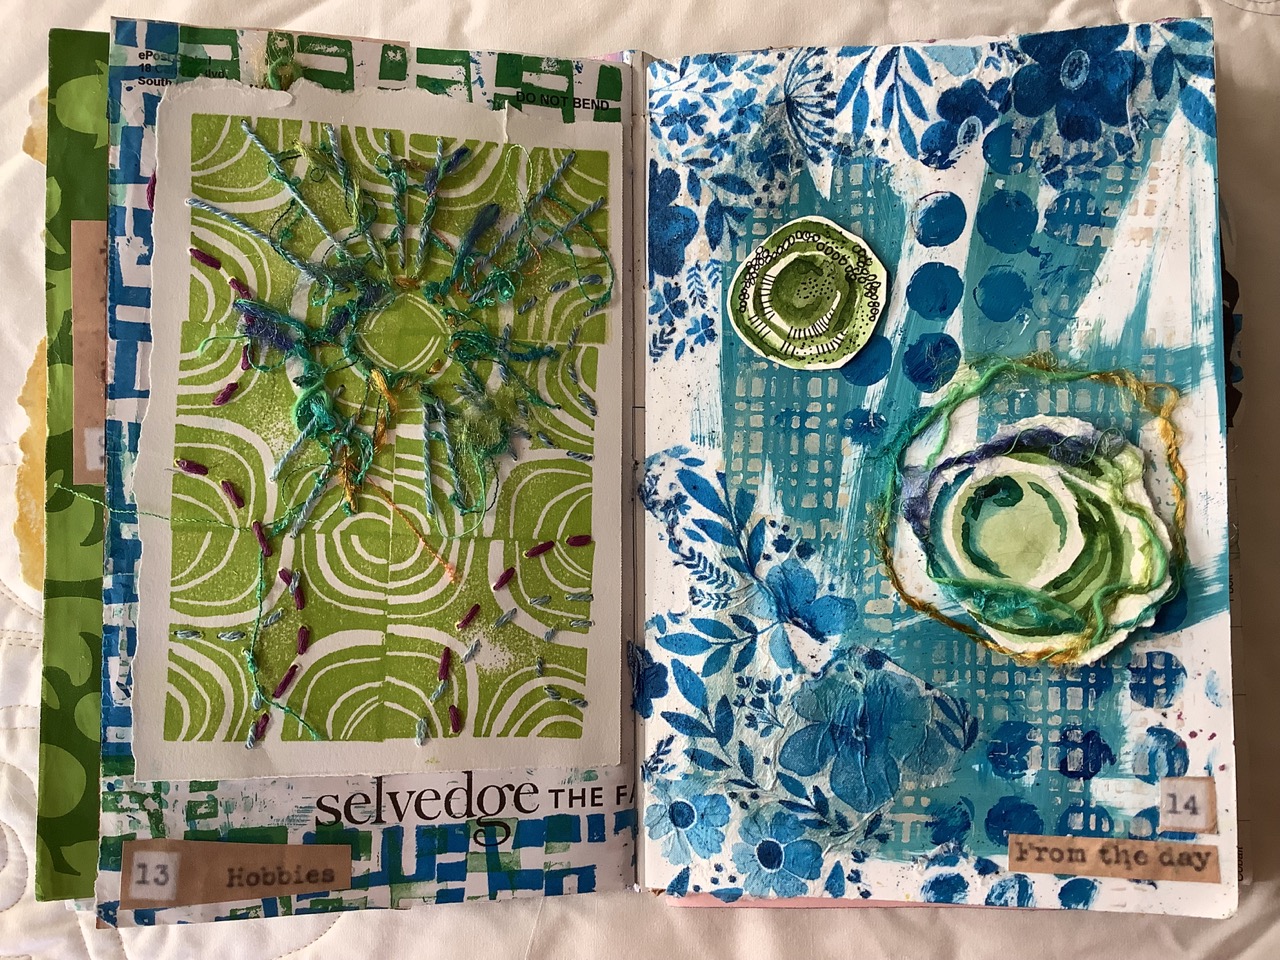
I want to find more opportunities to incorporate stitch and fibers into the pages. Stitching and threads provide an exciting tactile aspect to the pages.

Day 13: Hobbies (left) and Day 14: From the Day (right).

Rounding the halfway point

Today is Day 22 and Junk Journal January is more than half way through! It's been a good exercise to flex the art muscles, get reacquainted with my art supplies, do a little up-cycling, and be messy and creative for [at least] a few minutes a day. 


Friday, March 6, 2015

Hand bookmaking with fabric:
Binding and finishing the Farm Friends book

Are you ready for the binding and finishing of the Farm Friends soft book? The earlier production steps can be found in this post.

Binding and Finishing
Now that the signatures for the Farm Friends soft book are complete, they need to be gathered and collated in preparation for the binding. 
Two 4-page signatures and book cover of "Farm Friends" soft book.
Stack the signatures on top of the inside front/back covers. Check to make sure the pages are sequential (reader spreads) before you commit to the sewing.

Binding the book: Saddle Binding
In printing terms, "stitching" refers to the use of wire staples to secure the signatures of a book. When bookbinding thread is used to bind a book, it is called "sewing," or Smyth sewing. In quilting and sewing, the terms "stitching" and "sewing" mean much the same thing.

Take the prepared stack of signatures and pin or hand baste them in place in preparation for the saddle binding. The term "saddle binding" comes from the equipment that is used in book production. The signatures straddle a device similar to sitting on a saddle. For the fabric book, the signatures are laid out flat and sewn through the center of the pages, in the gutter. A saddle binding (as opposed to a side binding) allows a book to open flat.
Pin the signatures in preparation for bookbinding.
Binding by machine or by hand
If binding your soft book by machine, it's a good idea to use your machine's walking foot or an even-feed foot. If you enjoy hand sewing, this is a great opportunity for a bit of hand work—which is what I did on my book. I decided to try out a new 12 wt. thread I got in a Sulky Petites thread sampler pack. I used a backstitch.
Saddle binding the soft book by machine (left) or by hand (right).
Once the saddle binding is done, your soft book is complete. I particularly liked the fact that the book's cover is slightly larger than the text pages (a nice detail!). This protects the inside pages (one job of the cover), keeps them from peeking out when the book is closed and makes for a nice tidy presentation.
The cover extends beyond the inside pages of the book.
Be sure to fill out the bookplate on the back cover with your Ex Libris.
Farm Friends bookplate.
Creative Bookmaking and Embellishing
A soft book like this one can be sewn and assembled in an hour or two for the quilter or sewer with some experience. It is also a wonderful beginner sewing project. You might also consider these creative techniques for embellishing, enhancing or "illuminating" the pages of a soft book panel:
  • thread painting the farm animals or background scenes
  • embroidery and hand stitched embellishments
  • free-motion quilting
  • top stitching or edge stitching the pages—metallic threads could simulate gilding
  • the small format is ideal to experiment with surface design techniques.
Got ideas? Leave me a comment! The creative possibilities for quilters, sewers and fabric book artists are boundless (pun intended?).

With a couple hours invested in the bookmaking, this soft book will also provide hours of reading enjoyment for you and a youngster. What better gift is there than to give a book... or to read and re-read it aloud to a child... or listen to a new young reader read it aloud to you?

----------
Bookbinding tools for making Soft Books
In addition to my sewing machine, these are the tools I used for my soft book production. The bone folder has a blunt tip and rounded edges and can be used for folding and scoring paper as well as a point turner for soft books. The other tools are basic sewing tools.
Bookmaking tools: appliqué scissors, bone folder, point turner,
threads for machine or hand binding.
A note of Thanks and Gratitude to the professors in my undergraduate (NIU) and graduate (RIT) schools who instilled the love of typography, printing and bookmaking in me and fellow classmates: John Henry, Archie Provan, Jim Mannino, Emery Schneider, Werner Rebsamen, Joe Brown, Dr. Julius Silver, Joe Noga, David Pankow and also to Frank Ramano.

Here is the print production video from this post.


Wednesday, March 4, 2015

Hand bookmaking with fabric:
The Farm Friends book, part 1

"Farm Friends" soft book.
Typography, page design, book and print production—these are a few of my printing and publishing "loves." I've had a rewarding career in the printing industry and now that I work in the textile industry, making this sweet little project—a fabric book—brought back wonderful memories for me and blended loves from both my careers.

This fabric book, or "soft book," is from a fabric panel that is usually 36". You can find a variety of these soft book panels at your local quilt shop [YLQS].

I'll take you through the fabric book production steps and equate them to the print-on-paper bookmaking process as well. Because print production terms are ingrained in my brain, I'll provide links to their definitions to help clarify. Here goes…

The Press Sheet / The Fabric Panel
The press sheet [fabric panel] is comprised of all the 2-page spreads that make up the book before it is assembled.
24" fabric panel for the "Farm Friends" soft book.
This book is a self cover book, meaning the cover is printed on the same stock/paper as the text pages. You can see the front and back cover spreads, the inside front cover and the inside back cover, and all the book's inside pages on the panel.
This is a self cover book.
Shown here are the outside and inside front and back covers.
Since the book is already paginated, you don't have to worry about page imposition and the story reading incorrectly. 

Two-sided Printing
With ink-on-paper, when a press sheet is automatically printed on both sides with a single pass through the printing press, it is called "perfecting." This term is commonly used with offset lithography. With a digital printer, it is called "duplexing." With the fabric book, the single-sided spreads have to be trimmed out and manually stitched together back-to-back to simulate two-sided (duplex) printing.
Cut out the fabric page spreads. 
This is not difficult. Instructions and diagrams are found on the fabric panel. The instructions indicate which spreads back up each other...
Book assembly instructions are printed on the fabric panel.
The diagram shows the pagination.
…and the corresponding folios (page numbers) are found on the pages. This makes it easy… however...
Page numbers are printed on the pages.

A Note on Bookmaking Conventions
… It was slightly disconcerting for someone with a publishing background to find that this book did not follow the page numbering convention. For English texts (texts read from left to right), the odd numbers should appear on the right-hand (recto) pages and the even numbers on the left-hand (verso) pages. 

But back to the soft book production…

Duplexing
Got long lengths of batting trimmings? Here is where they come in handy.
Batting trimmings were used for this fabric book.
Take the corresponding page spreads and sandwich them together with a piece of batting. I used long scraps of low-loft 100% cotton batting—trimmings from larger quilts. Pin and sew around the outside of the sandwich, leaving an opening for turning. I did a little back stitching on either side of the opening for strength.
Sandwich, pin and stitch the book spreads.
The corners and batting were trimmed close to the stitching to reduce bulk.
Trim corners and batting to reduce bulk.
Before turning, press open the seam allowances on the side with the opening. This will provide a straight crisp edge for finishing. Turn the piece right side out through the opening. Use a point turner or bone folder at the corners. Press.
Press open the seam allowances before turning right side out.
Here are the completed 4-page signatures and the cover. Binding and finishing will be covered in Friday's post. Stay tuned...
Two 4-page signatures and book cover.
Related Posts Plugin for WordPress, Blogger...