Showing posts with label Shakerag workshops. Show all posts

Sunday, June 30, 2024

Slowing down in a surface design and hand stitching workshop with Arounna Khounnoraj

Creating an imagined landscape with natural dyes, fabric painting and slow stitching… a time to travel in place.

Painted and printed fabrics dyed with natural dyes.

I had a most enjoyable experience taking a workshop with Arounna Khounnoraj [Bookhou] and several artists and friends at Shakerag Workshops. The Imagined Landscapes workshop—comprised of mark making, surface design, natural dyeing, and lots of hand stitching—was a slow, more intentional, and much needed change of pace.

Surface design

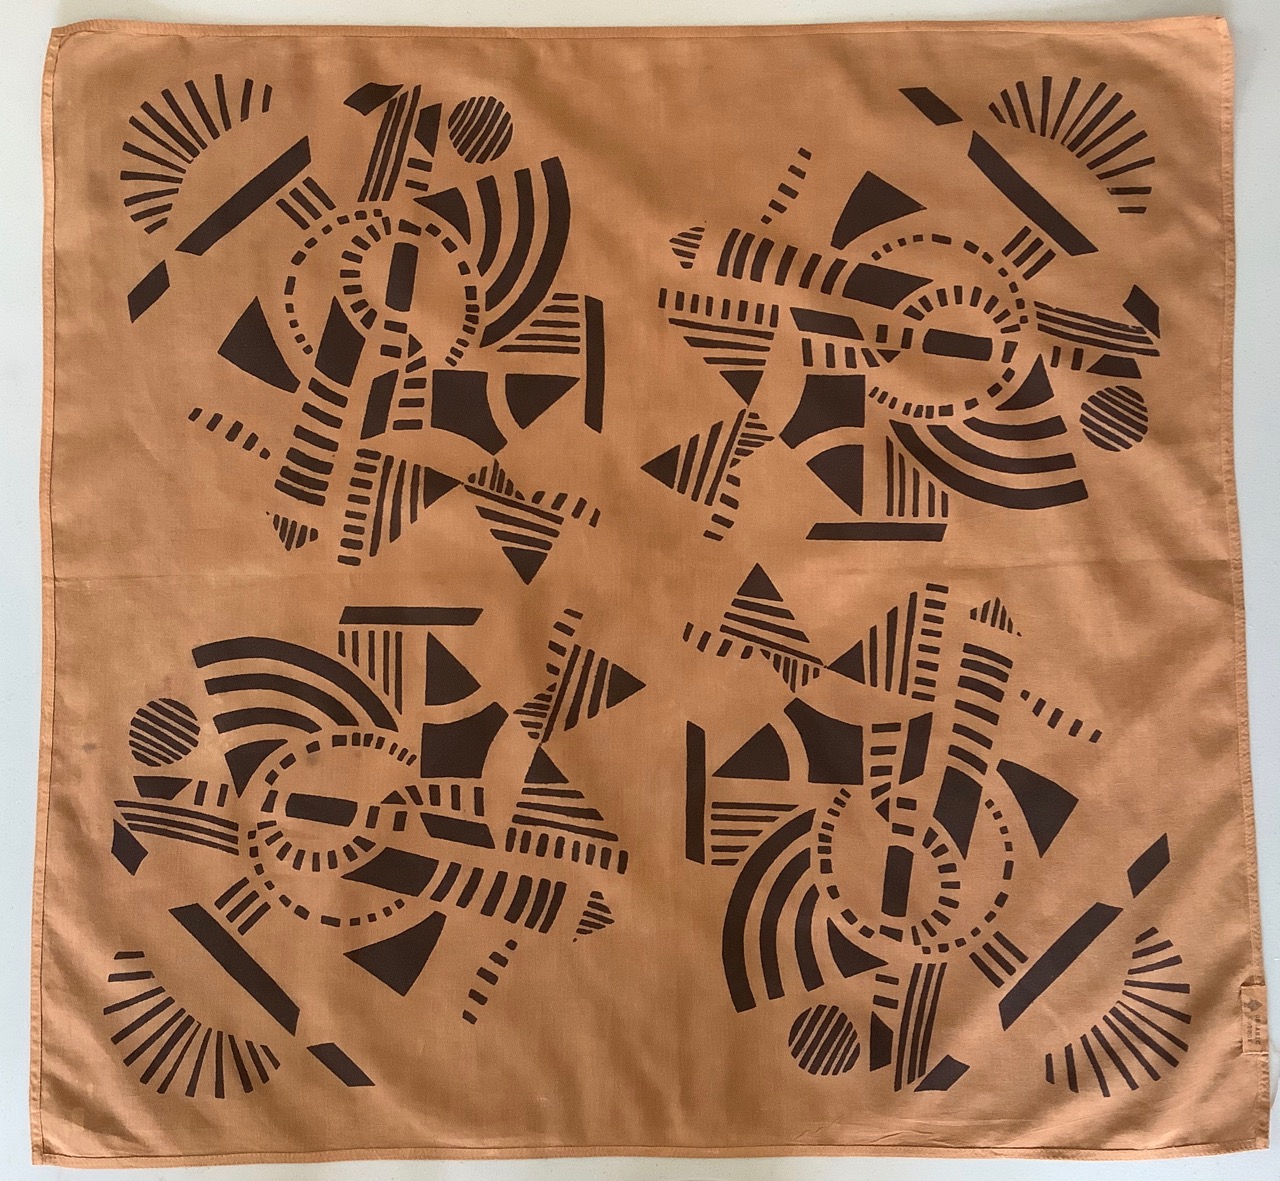
In the Imagined Landscapes workshop, participants made marks on fabric with brushes, textile paint, and a soy milk mordant.

Painting with textile paint.

I got to experiment printing with a wood block that a friend gave me earlier this year. I printed on a commercial batik fabric as well as an unbleached cloth.

Block printing on a batik fabric.

It took a little time and concentration to line up the block with each printing so the overall pattern would be preserved.

Block printing repeat.

After mark making with paint and mordants, the fabrics were dyed with natural dyes. Most of the dyes required a heat process to set the color while the indigo dye pot did not.

The natural dye pots included madder, marigold, onion skins, avocado, iron, and indigo.

Beautiful flowers on the indigo vat.

The dyes revealed beautiful shades of rosy red, yellows, light beige, greys, and blues on cellulose fabrics.

Cotton fabrics dyed with natural dyes.
From left: marigold; onion skin overdyed in indigo; madder; avocado; indigo.

Hand embroidered linens that I picked up at a local thrift shop were overdyed.

Embroidered linens (center and lower right) from a thrift shop
were overdyed in onion skins and indigo.

The imagined landscapes

The landscape compositions were created from the hand dyed fabrics that were basted and then appliquuéd to the quilt sandwich. 

Composition layout with basting.

I usually appliqué shapes onto the quilt top (prior to basting a quilt sandwish), however Arounna, our instructor, likes to see the stitching on the back side of her work. This was an interesting concept to me so I decided to try this method. It was a way to appliqué and quilt in a single process. Some of the fabric edges were turned under and some were left raw and frayed. I think my imagined landscape benefited from both. 

Raw edges and turned edges for appliqué pieces. The appliqué was done through all layers
of the quilt sandwich. Most of the knots were buried in the batting layer.

An imagined landscape (work in progress).

One of my fellow students, Roz, suggested I keep the outer borders of the composition freeform (not finished the perimeter with a binding or facing). I decided to take this route and I plan to finish the piece by mounting it on a frame or a stretched canvas.

Hand stitching and inspiration

Stitching inspiration came from teacher demonstrations, group conversations, and suggestions from fellow students. We had quite a group of experienced and creative textile artists in the workshop! As an advocate for slow stitching and visible mending, Arounna discussed and demonstrated embroidery and mending stitches as well as how she does hand piecing.

Arounna demonstrating hand piecing.

The “baseball” stitch is good for mending tears on garments.

Origami triangle pouch

With scraps and small leftover bits that were too precious to toss, some of the students created small origami treasure pouches. 

Triangle treasure pouch.

The pouches are a bit like fabric origami. So cute!

Origami fabric pouch.

Arounna is a wonderful teacher and a prolific author. She has published five books thus far and teaches workshops internationally. If you ever have the opportunity, take a workshop with her! Or pick up one of her books (I have her Punch Needle and Contemporary Patchwork books) and enjoy the slow stitching process.


Sunday, June 25, 2023

Screen printing, natural dyes, and the Summer Solstice

This past Wednesday, June 21, 2023, was the Summer Solstice. It's the longest day of the year (in the northern hemisphere) with the shortest night. Did you take advantage of all the daylight to do something creative?

Screen printed fabric with natural dyes.

For my Summer Solstice, I was experimenting with screen printing, thickened mordants, natural dyes, and cotton lawn bandanas in a textile workshop called Pattern & Prints & Plants & Play, with Sarah and Emily of Homebody Textiles.

Iron mordant with cutch natural dye.

By using different mordants, the natural dyes react differently to produce the colors.

Three different mordants on logwood.

Mordants can be applied through a screen to create a crisp edge on the patterns. Or, brushes, sticks and other mark-making tools can be used to apply mordants directly to the cloth to create the designs.

Hand painted (left) and screen printed designs on cotton lawn drying outside.

The palette of natural dyes to add color were: weld, pomegranate, logwood, madder, cutch, and lac. Mordants of alum, iron, and titanium were mixed in various ratios and applied to the cloth to create pattern designs. Citric acid was used to discharge.

Color swatches of the natural dyes and mordants.

The following design was inspired by a stitch composition from my 100 Days of Fabric and Stitch Colleges Project. It reminds me of the summer solstice.

Hand application of mordants to cloth dyed with lac.

Blanket stitched circles served as inspiration.

During the half of the year that is now behind us, I diligently kept up with my Create Daily Tracker. The multi-colored boxes indicate the use of a variety of materials and techniques.

2023 Create Daily Tracker—June 25.


Sunday, September 19, 2021

The Tablecloth Jacket: the epitome of repurposing

One of the September Textile Love 2021 prompts, "Repurpose," reminded me of a jacket I made in a 2015 workshop with Angelika Werth. The workshop was called Garments: Deconstruction / Reconstruction. And this piece is the epitome of repurposing!

The Tablecloth Jacket, from a 2015 workshop with Angelika Werth.

If you hadn't read the title of this blog post, would you have known this jacket was created from a large, oval tablecloth and a pair of embroidered capri pants? I bet not. But it was!

The Tablecloth Jacket, back view.

Inside/Outside

Oh, I wish I had a photo of the tablecloth before it was "repurposed." A photo would make this easier to describe. Anyway...

During a show-and-tell session during the workshop, my classmates suggested I use the "wrong side" of the tablecloth—the faded denim side—for the outside of the jacket. The dark blue inside of the jacket was actually the "right side" of the tablecloth. Don't ask how many times I "unstitched" a seam by adhering to the sewing adage of "with right sides together..."! In this project, the "right side" was not necessarily always the right side.

The "wrong side" of the tablecloth is the outside of the jacket.
The design in the darker blue is actually the "right side" of the tablecloth.


Capri pants = jacket sleeves

The next "repurposed" element was an embroidered pair of capri pants. The pants were deconstructed and turned into the jacket's sleeves. The color of the pants as well as the floral embroidery were a perfect complement to the tablecloth!

Decorative embroidery on the capri pants.

The vent at the lower edge was a delightful "bonus" detail! 

The deconstructed pants turned into the jacket sleeves.


Jacket details

Looking at the back of the jacket, note the decorative braid-like pattern up the center back. The braid pattern was made from two rope designs that were running lengthwise at the 1/3 and 2/3 points of the tablecloth. The center section of the tablecloth had no design. I cut the center away and pieced the ropes to run up the center back—making it a braid.

Center back braid design and hand stitching at the shoulder seams.

Below is the inside of the jacket showing the center back. The raw edges of seam allowances at the center back are covered with a silk bias strip (cut from a silk blouse/dress). The little bows are a sweet detail and the color was perfect.

Bias trim covers the center back seam allowances.

The armhole raw edges and side seams are also covered with a silk bias strip.

Other construction details as well as serendipitous design elements include an open "gusset" at the underarm. You would only notice this if the arm was lifted... and you knew to look.

Underarm open gusset.

The pant leg sleeves were attached to the bodice with decorative stitching.

Open underarm and hand stitched seam.

The floral filigree design on front lapels is asymmetrical. One lapel is pieced on the diagonal.

Asymmetrical designs on the jacket lapels.

The lapels actually use the "right side" of the tablecloth—the darker blue—as the "right side" of the lapel. It makes a nice contrast and creates a long vertical line in the garment.

The dark blue lapel is a nice contrast to the bodice and sleeves.
It visually creates a long vertical line on the body.

I can't believe how the capri pant legs were the perfect length for the sleeves!

Capri pants = jacket sleeves! The perfect sleeve length.

Resources

The pattern I used as a basis for the body was the Santa Cruz Jacket/Vest pattern from the ReVisions collection by Diane Ericson. I did make a muslin for fit before cutting into the tablecloth.

The tablecloth and capri pants were acquired at a local resale shop. The silk bias strips were created from a silk dress that one of the class participants did not want.

My deconstructed/reconstructed Tablecloth Jacket, completed in 2015.

So, there you have it! My deconstructed/reconstructed Tablecloth Jacket. Simply serendipitous and totally repurposed!

Angelika Werth was a generous instructor with a wealth of knowledge and experience. My classmates were encouraging and supportive. It was a success all around!


Saturday, July 10, 2021

Boro-inspired drawstring bag: reliquary or rag?

One of the projects we worked on in Doug Baulos's book arts workshop, Retracing Nature: Folio, Book, Installation, revolved around the concepts of "reliquary" vs "rag." Either can evoke a sense of reverence, preciousness, history, culture, a passage of time... and other emotions.

Scraps of fabrics, patched and stitched to a base cloth and indigo dyed.


Project: Rag

This is the beginning of my "rag" project. Inspired by boro, patching, the act of using precious small pieces of fabric, mending, preserving and renewing, I began to create my piece. Scraps and trimmings from other projects were patched (machine appliquéd) onto a base fabric. 

Elevating the Rag

The patchwork "rag" was then dyed in an indigo vat. Different fabrics took the indigo dye in varying degrees of color and value. Once the overdyed patchwork was dry, I began to hand stitch with cotton sashiko threads. 

Fabric patches overdyed in indigo.


There was no predetermined plan or design for the stitching or color placement—just the mindfulness of running the needle and thread through the fabric layers. Adding to the texture, the knots were left on the "right side"—the "raggy" side. A new thread was started wherever the previous length ran out. 

Running stitches with cotton sashiko threads.

The running stitches both strengthened the patches and added color to the piece. Cross stitches were added to hold down the random, loose or unruly bits.

Cross stitches hold down unruly and frayed edges.


The metamorphosis to a functional object

My hand stitched rag needed to become something functional... something useful... so it would be frequently touched, held and admired. The flat rag metamorphosed into a three-dimensional small bag (approximately 9.5" x 8" x 2"). The boxed bottom was hand stitched and the tabs were left on the outside.

Boro-inspired drawstring bag.

The bag's inside is smooth and beautiful... with colored rows of stitching on a background of sky blue indigo.

The bag's inside with rows of colorful stitching.

Keeping with the suppleness of the hand-stitched piece, I did not use a zipper or other mechanical or machine-made closure. I think the simple drawstring closure is appropriate.

Boro-inspired drawstring bag.

Reliquary or Rag?

I have not yet decided what to keep in this bag: small balls of yarn, a travel project, handwork? For now, it is holding the memory of an enriching workshop experience with Doug Baulos, memories of new friends with whom I shared that experience, thoughts of the previous projects from which the patches came, and the relaxation and mindfulness that came with the creation and stitching processes. 

That is enough. It is full.

Is it reliquary or rag? 

The answer lies in the eyes and heart of the beholder.

------
After writing this blog post about the story of this piece, I realized that it certainly identifies with my Make Nine 2021 "Mindfulness" prompt. I'm counting it as my 7th Make Nine finish.


Sunday, June 27, 2021

The Porcupine Shirt: an indigo and shibori Make Nine finish

An impetuous buy at a resale shop met with the indigo dye pot in a recent workshop with Doug Baulos. And it was Magically Delicious!

A Liz Claiborne linen shirt itajime shibori dyed in indigo.


Retracing Nature: Folio, Book, Installation
workshop

Over-dying in an indigo dye bath was not a scheduled activity in a recent book arts workshop [at Shakerag Workshops] called, "Retracing Nature: Folio, Book, Installation" with artist Doug Pierre Baulos. But at the urging of fellow workshop participants, Doug generously offered to show us a method for preparing an indigo dye vat with natural indigo plant material. And so the story of my "Porcupine Shirt" began... 

Preparing the indigo dye vat with Doug Baulos and
Brooke Cassady (right), workshop assistant.

Thinking I might use a garment as a pattern or basis for my installation piece in the workshop, I made a serendipitous trip to the local resale shop to see what I could find. There it was... a salmony-pinkish Liz Claiborne 100% linen shirt. $3. I had no idea what was about to happen.

Clamping the collar. 

With little time to prep for the freshly bloomed dye bath, I opted for the itajime shibori method—using clothespins to create the clamped resist. (It was quicker than stitching and gathering to create a restist.) Below is the shirt, folded and clamped with clothespins.

Kinda looks like a porcupine, don't ya think? Thus the name: Porcupine Shirt.

The porcupine is ready for dyeing.
(Notice its shadow.)

I waited to put my piece into the dye pot since it was larger than the pieces from other participants. Doug carefully lowered the shirt into the indigo dye pot to minimize the introduction of any air or bubbles into the dye bath.

Carefully lowering the shirt into the indigo dye.

The removal was just as careful.

Removal from the dye pot.

Here is the little indigo porcupine drying in the sun. We did dye the critter an additional time to strengthen the color.

Drying in the sun.

After removing clothespins, the unfolding revealed this... 

Thank you to Becky Edwards for taking the video.

Tah-da! Here it is. Like magic.

The unwrapped shirt.


Drying on the line.

Auditioning buttons

The original white buttons on the shirt were removed before dyeing the shirt. Even though they had the Liz Claiborne brand imprinted on them, it seemed that white buttons were not appropriate for this makeover.

Auditioning buttons.

I chose to gradate the colors: a bright salmon button at the top, two iridescent red-violet ones for the center, and two indigo at the bottom.

Shibori dyed shirt with an assortment of colored buttons.

Shibori dyed shirt back and sleeve detail.

My new Porcupine Shirt satisfies the Make Nine 2021 "Upcycle/Repurpose/Mend" prompt. 

Make Nine: June 2021


If you ever have an opportunity to take a workshop with Doug, know that Doug is up for an unscripted adventure or detour wherever inspiration may lead. So be prepared to Seize the Day—or seize the opportunity to throw something into the dye pot. 

It's always magically delicious!

Thank you Doug!

Related Posts Plugin for WordPress, Blogger...