Sunday, November 6, 2022

Why a sketchbook is a MUST for free-motion quilting

When I teach my Intro to Free-motion Quilting workshop, one of the items included on the Student Supply List is a sketchbook. Yes, a sketchbook!  It serves multiple purposes and many of the students at a recent class mentioned this was a valuable tool and an important take-away from the class.

Drawing free-motion quilting designs in a sketchbook.

Where to get a sketchbook?

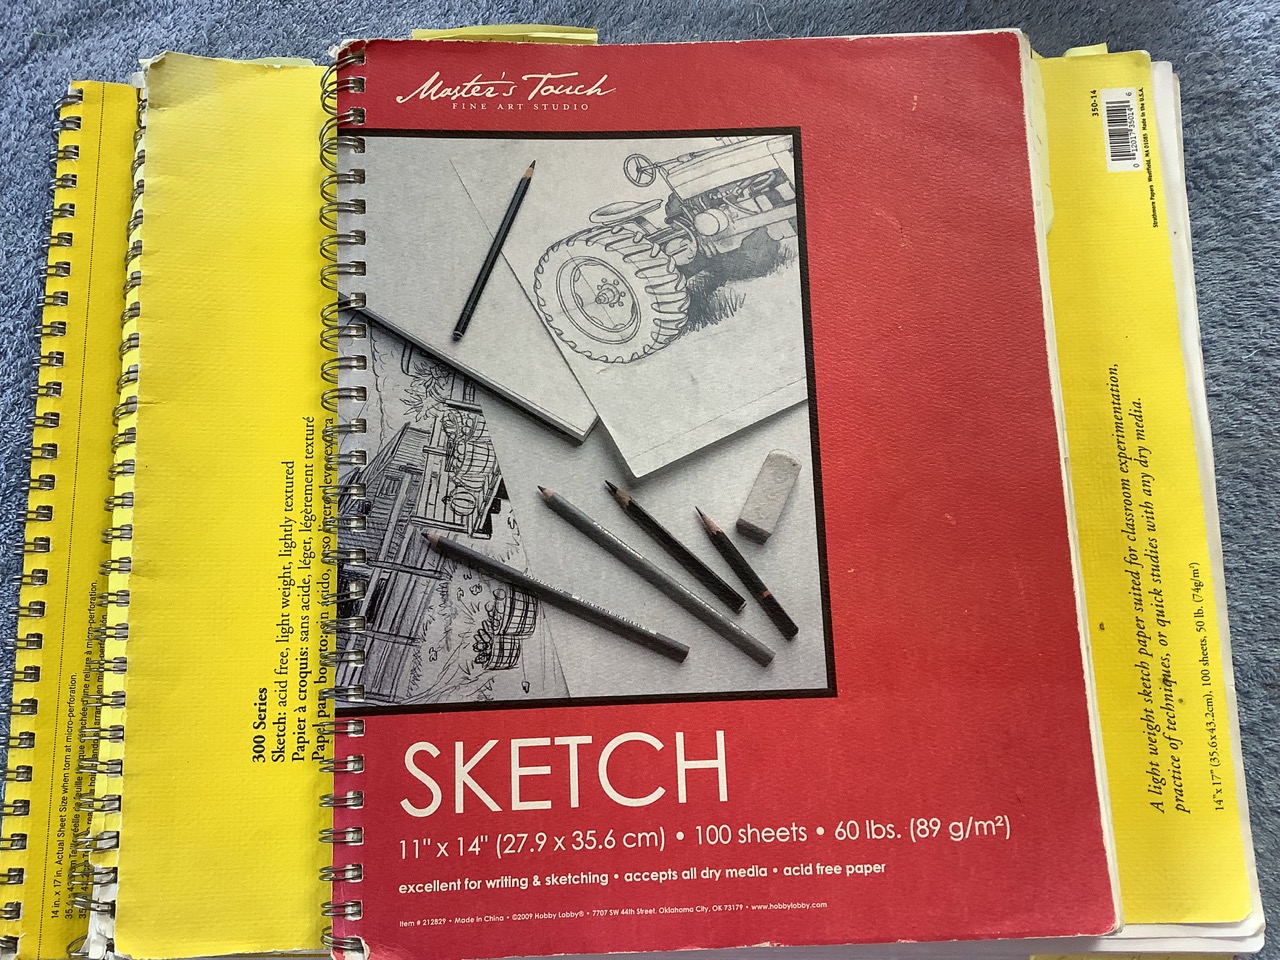
I always advocate supporting and buying from your local quilt shop or online with any of the thousands of independent quilt shops across the country for purchasing your quiltmaking supplies. A sketchbook, however, is one of the very few items you get a "pass" on if you don't buy it at the local quilt shop. Check your local craft/hobby store or an online art supply store and get a sketchbook with 50 to 100 pages

Note: use the craft store's coupon to purchase the sketchbook, then apply the savings to buy more fabric at the quilt shop.

What kind of sketchbook? 

Get a sketchbook specified for drawing. The pages will be a soft white color. The paper will have a nice, smooth finish, and will easily take marks from dry drawing media—pencil, pen, gel pens, etc. Generally, the paper weight is from 65 lb/96 gsm to 80 lb/130 gsm and 90 lb/160 gsm for a sheet that is slightly heavier and more opaque. 

Jackie at Intro to Free-motion Quilting at John C. Campbell Folk School.

I prefer a spiral bound (wire bound) sketchbook so the sketchbook lies flat when drawing. The spiral keeps the pages bound together for future reference. However, many spiral bound sketchbooks also have a perforation on each page should a page need to be removed for some reason. 

A sketchbook page filled with free-motion motifs. 


What size sketchbook?

I recommend a sketchbook that is at least 14" x 17". Why? Because you'll find there are a LOT of quilt blocks that are 12" so a larger sheet of paper will accommodate this popular block size.

Karen (left) and Karen (right) at Intro to Free-motion Quilting
at John C. Campbell Folk School.


What goes in the sketchbook?

In class, my students start with simple drawing exercises—drawing basic free-motion quilting [FMQ] shapes.

Katy (left) and Wendy (right) at Intro to Free-motion Quilting
at John C. Campbell Folk School.

After drawing and quilting the basic shapes on practice quilt sandwiches, we work through designs that can be used as edge-to-edge, all-over quilting patterns, and background fillers. 
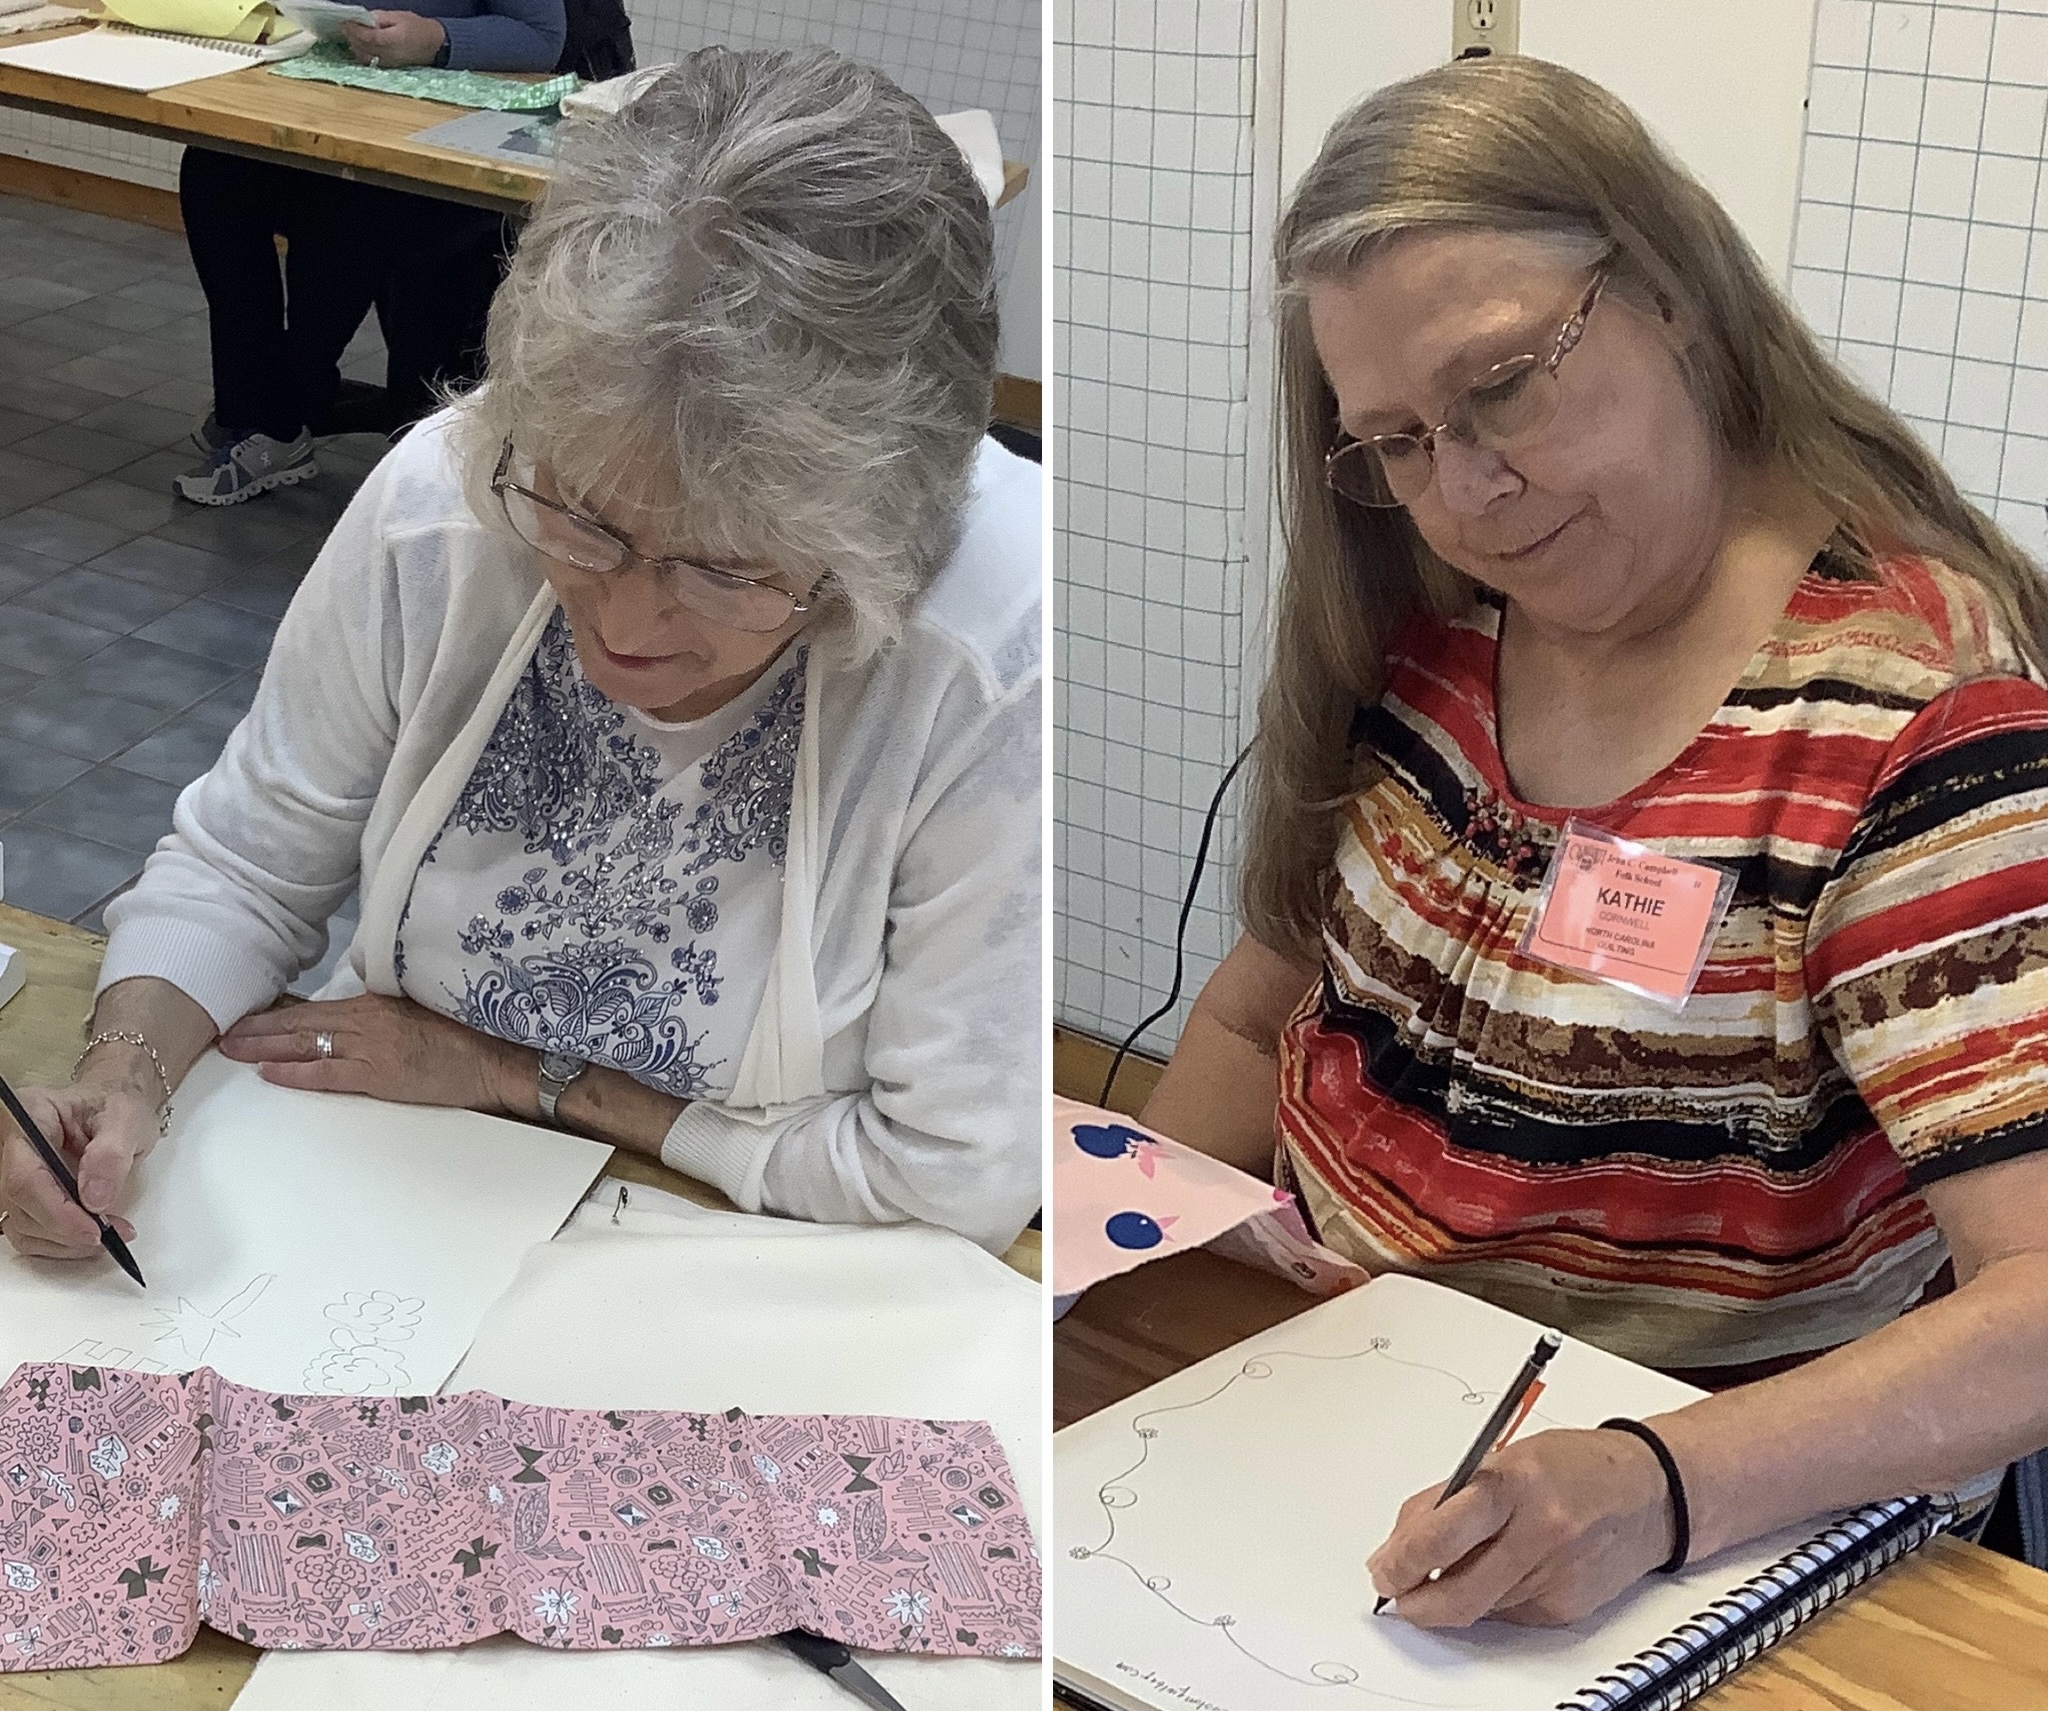
Diane (left) and Kathie (right) at Intro to Free-motion Quilting
at John C. Campbell Folk School.


Where do you find new FMQ designs?

In search of new ideas for free-motion quilting designs? Use the motifs and designs from your fabrics as a reference. In a recent workshop at the John C. Campbell Folk School, students received complimentary fat quarters from Art Gallery Fabrics as inspiration for developing motifs and continuous line patterns for their free-motion practice.

Dina at Intro to Free-motion Quilting at John C. Campbell Folk School.

Kathy at Intro to Free-motion Quilting at John C. Campbell Folk School.


Keep that sketchbook handy... and use it!

Use your sketchbook as an on-going FMQ reference book! It's a resource and tool for:

  • learning shapes and paths for new (or new-to-you) designs
  • auditioning different designs for quilt blocks, sashings, and borders
  • creating new designs
  • getting familiar with a design and its path before going to the sewing machine
  • exercising muscle memory
  • developing your repertoire of potential quilting patterns for current and future quilts.

And if you don't like a design, or you think you made a "mistake" in your sketchbook, you don't have to pick out any stitches!

Remember, your sketchbook is YOUR sketchbook. It doesn't have to be pretty. It doesn't have to be "perfect." You don't have to show it to anyone if you don't want to. It's a work-in-progress... a reference tool for your FMQ practice.


Sunday, October 30, 2022

My free-motion quilting class at John C. Campbell Folk School: magical and fun

There was a hint of crisp, fall weather in the air, the colors of the landscape were turning to reds and golds against a clear "Carolina blue" sky. Like a picture postcard, the scene was beautifully composed for a long weekend of free-motion quilting at the John C. Campbell Folk School.

Last weekend, I had a fabulous opportunity to teach an Intro to Free-motion Quilting workshop at the John C. Campbell Folk School. I had a group of inquisitive and motivated students, as well as a top-notch studio assistant (who was also my tour guide) and more than any instructor could ask for. The campus was magical, and the weather, perfect. All that to say, my first experience at the Folk School was wonderful and inspiring.

Arriving at the Folk School

Folk School instructors arrive early Friday afternoon for weekend classes. I met Geri, my fiber arts friend and studio assistant, at 2pm at the Keith House for registration. After dropping off my suitcase in my room at the Orchard House, Geri took me over to the Louise Pitman Fiber Arts building where the quilting and weaving studios are located.

Fiber Arts building at the John C. Campbell Folk School.

The Quilting Studio has all the technologies!

The spacious quilting studio was technology-enabled with all the necessary “high” and “low” tech equipment—a large digital screen, iPhone camera for real-time filming, wi-fi, a white board, and a flip chart. Students had long tables to work on and flannel boards were mounted on the walls. A supply closet was filled with cutting tools, rulers, irons and other quilting equipment.

Inside the Quilting Studio at John C. Campbell Folk School.

Class began Friday evening, immediately following dinner. On Saturday, we worked a full day in the studio drawing continuous line designs in sketchbooks, quilting various free-motion designs on practice sandwiches, banishing the FMQ [free-motion quilting] myths, and discussing quilting strategies. Sunday morning entailed more drawing exercises, free-motion practice, and a trunk show of several of my quilts.

Drawing swirls and shell motifs.

Discussing quilting strategies: where to start quilting, combining motifs, etc.

A Bed-turning style Trunk Show

With the nice long tables in the studio, I opted for a bed-turning style process for showing and discussing a few of my quilts. The quilts illustrated various FMQ concepts—auditioning threads, determining thread weights and colors, adding texture with background fills, and using the patchwork to define areas to quilt.

A bed-turning style trunk show.

How to audition threads for quilting.

Free-motion designs inspired by the fabrics and the apppliqué.

One of the quilts I included in the presentation was a fabric panel that was quilted and incorporated LED lights, a soft circuit with conductive thread, an Arduino computer chip, and a battery. This quilt was of particular interest to Geri, my studio assistant, as she was the person who sparked my interest in incorporating electronics and computer technology into quilts.

A small battery powers a soft circuit that is stitched into this quilt. 
Switches sewn to the quilt turn on/off the LED lights.

I brought several quilts from Guild Challenges because these quilts always have interesting stories to accompany them. My most recent Challenge quilt, Alone Together, was from last year's Guild Challenge. For documentation on the process of this quilt, see this blog post about the design and patchwork process, this post for the quilting process and quilt stats, and my experiments and discoveries through working on this piece.

Discussing various aspects of Alone Together, a guild challenge quilt.

Impromptu discussions on faced bindings, flat piped bindings and a request for an improvisational quilting workshop came out of the bed-turning exercise. I now have some marching orders.  ;-) 

Practice sandwiches

Students made several practice sandwiches for learning FMQ motifs and getting warmed up. We also used pre-printed placemat panels from Paintbrush Studio to try FMQ on a patchwork design (without having to deal with seam allowances).

Free-motion quilting on pre-printed placemat panels from Paintbrush Studio.

Fillers, feathers and continuous line free-motion designs.

Thank you!

Here are the FMQ stars from the workshop. Thanks to everyone for a great first-time experience at the Folk School! And a special Thank You to Geri for the in-class candid photos. I hope you all continue to grow in your quiltmaking journey and enjoy all the creative possibilities free-motion quilting has to offer.

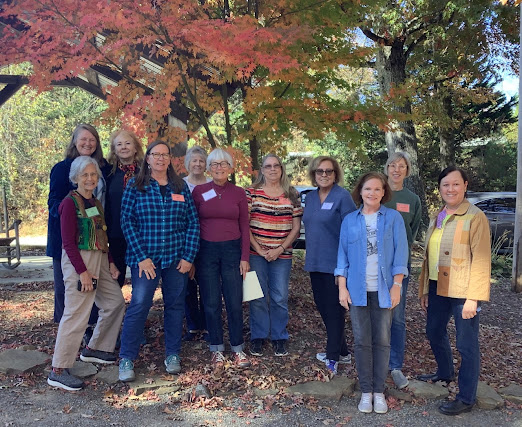
October 21-23, 2022 Free-motion Quilting students at John C. Campbell Folk School.
From left (back row): Wendy, Karen, Diane.
From left (front row): Geri (studio assistant), Karen, Kathy, Kathie, Dina, Katy, Jackie and me (Veronica).
Not pictured: Suzanne 

And this is the view in the morning from outside my dorm room. The Folk School can definitely change you!

View from Orchard House on an October morning.


Sunday, October 16, 2022

I'm teaching Free-motion Quilting at John C. Campbell Folk School

Way back in 2018 or 2019, my friend, Karen, from Bless My Stitches Quilt Shop, invited me to teach a workshop at the John C. Campbell Folk School. Because of the disruption of the pandemic, the folk school was closed for some time so my class didn't come to pass...  until this year! I'll be headed to Brasstown, North Carolina this coming weekend to teach a favorite workshop of mine, Intro to Free-motion Quilting!

Quilts for free-motion quilting workshop Show and Tell.

My workshop is full! I have 10 students and I get a teacher assistant. This will be a treat for me. 

Gathering class materials

I bring a big pile of quilts for show and tell when I teach this workshop. Large, small, bed and wall quilts are real-life examples of what can be accomplished with free-motion quilting. I've got several sketchbooks, stitch samples, and other supplies too.

Sketchbooks are a major part of FMQ [free-motion quilting] prep.

I pieced two scrappy quilt tops to use for warm-up and demonstrations. These will eventually turn into charity quilts for the kitties.

Quilt tops and quilting samples.

It will be wonderful to be back in the classroom again, meeting new quilters, and dropping the feed dogs.


Monday, October 3, 2022

An October printmaking adventure with Print•Inktober

Break out the hand carved stamps, ink pads, and sketchbook for the Print•Inktober Challenge!

Collection of hand carved stamps ready for the Print•Inktober Challenge.


What is Print•Inktober?

Print•Inktober is a free, online, daily Challenge, hosted by Julie Fei-Fan Balzer of Balzer Designs  taking place the month of October. The purpose of the Challenge is to get your stamps out of the closet and into use! 

Like many online Challenges, Print•Inktober offers a inspiration prompt for each day of the month. Participants can follow the prompt (or not), post their daily print, and enjoy the creations of other participants. Here is what's in store for this year:

I have a lovely collection of hand carved rubber stamps from doing the The 100 Day Project—100 Days of patterns and textures with hand carved stamps. The Print•Inktober Challenge is a great way to get them out and print with them again. 

A warm-up page.

After pulling out my stamps and ink pads yesterday, I did a little warm-up page in preparation of the Day 1 prompt: Circle. 

Day 1 prompt: Circle

It will be fun to get back into printmaking this month. After my daily practice in the 100 Day Project, I expect to incorporate watercolors and slow drawing into the stamped patterns... and filling more pages in the sketchbook!


Related Posts Plugin for WordPress, Blogger...