Showing posts with label John C. Campbell Folk School. Show all posts

Saturday, August 9, 2025

Free-motion Quilting Magic at the Folk School

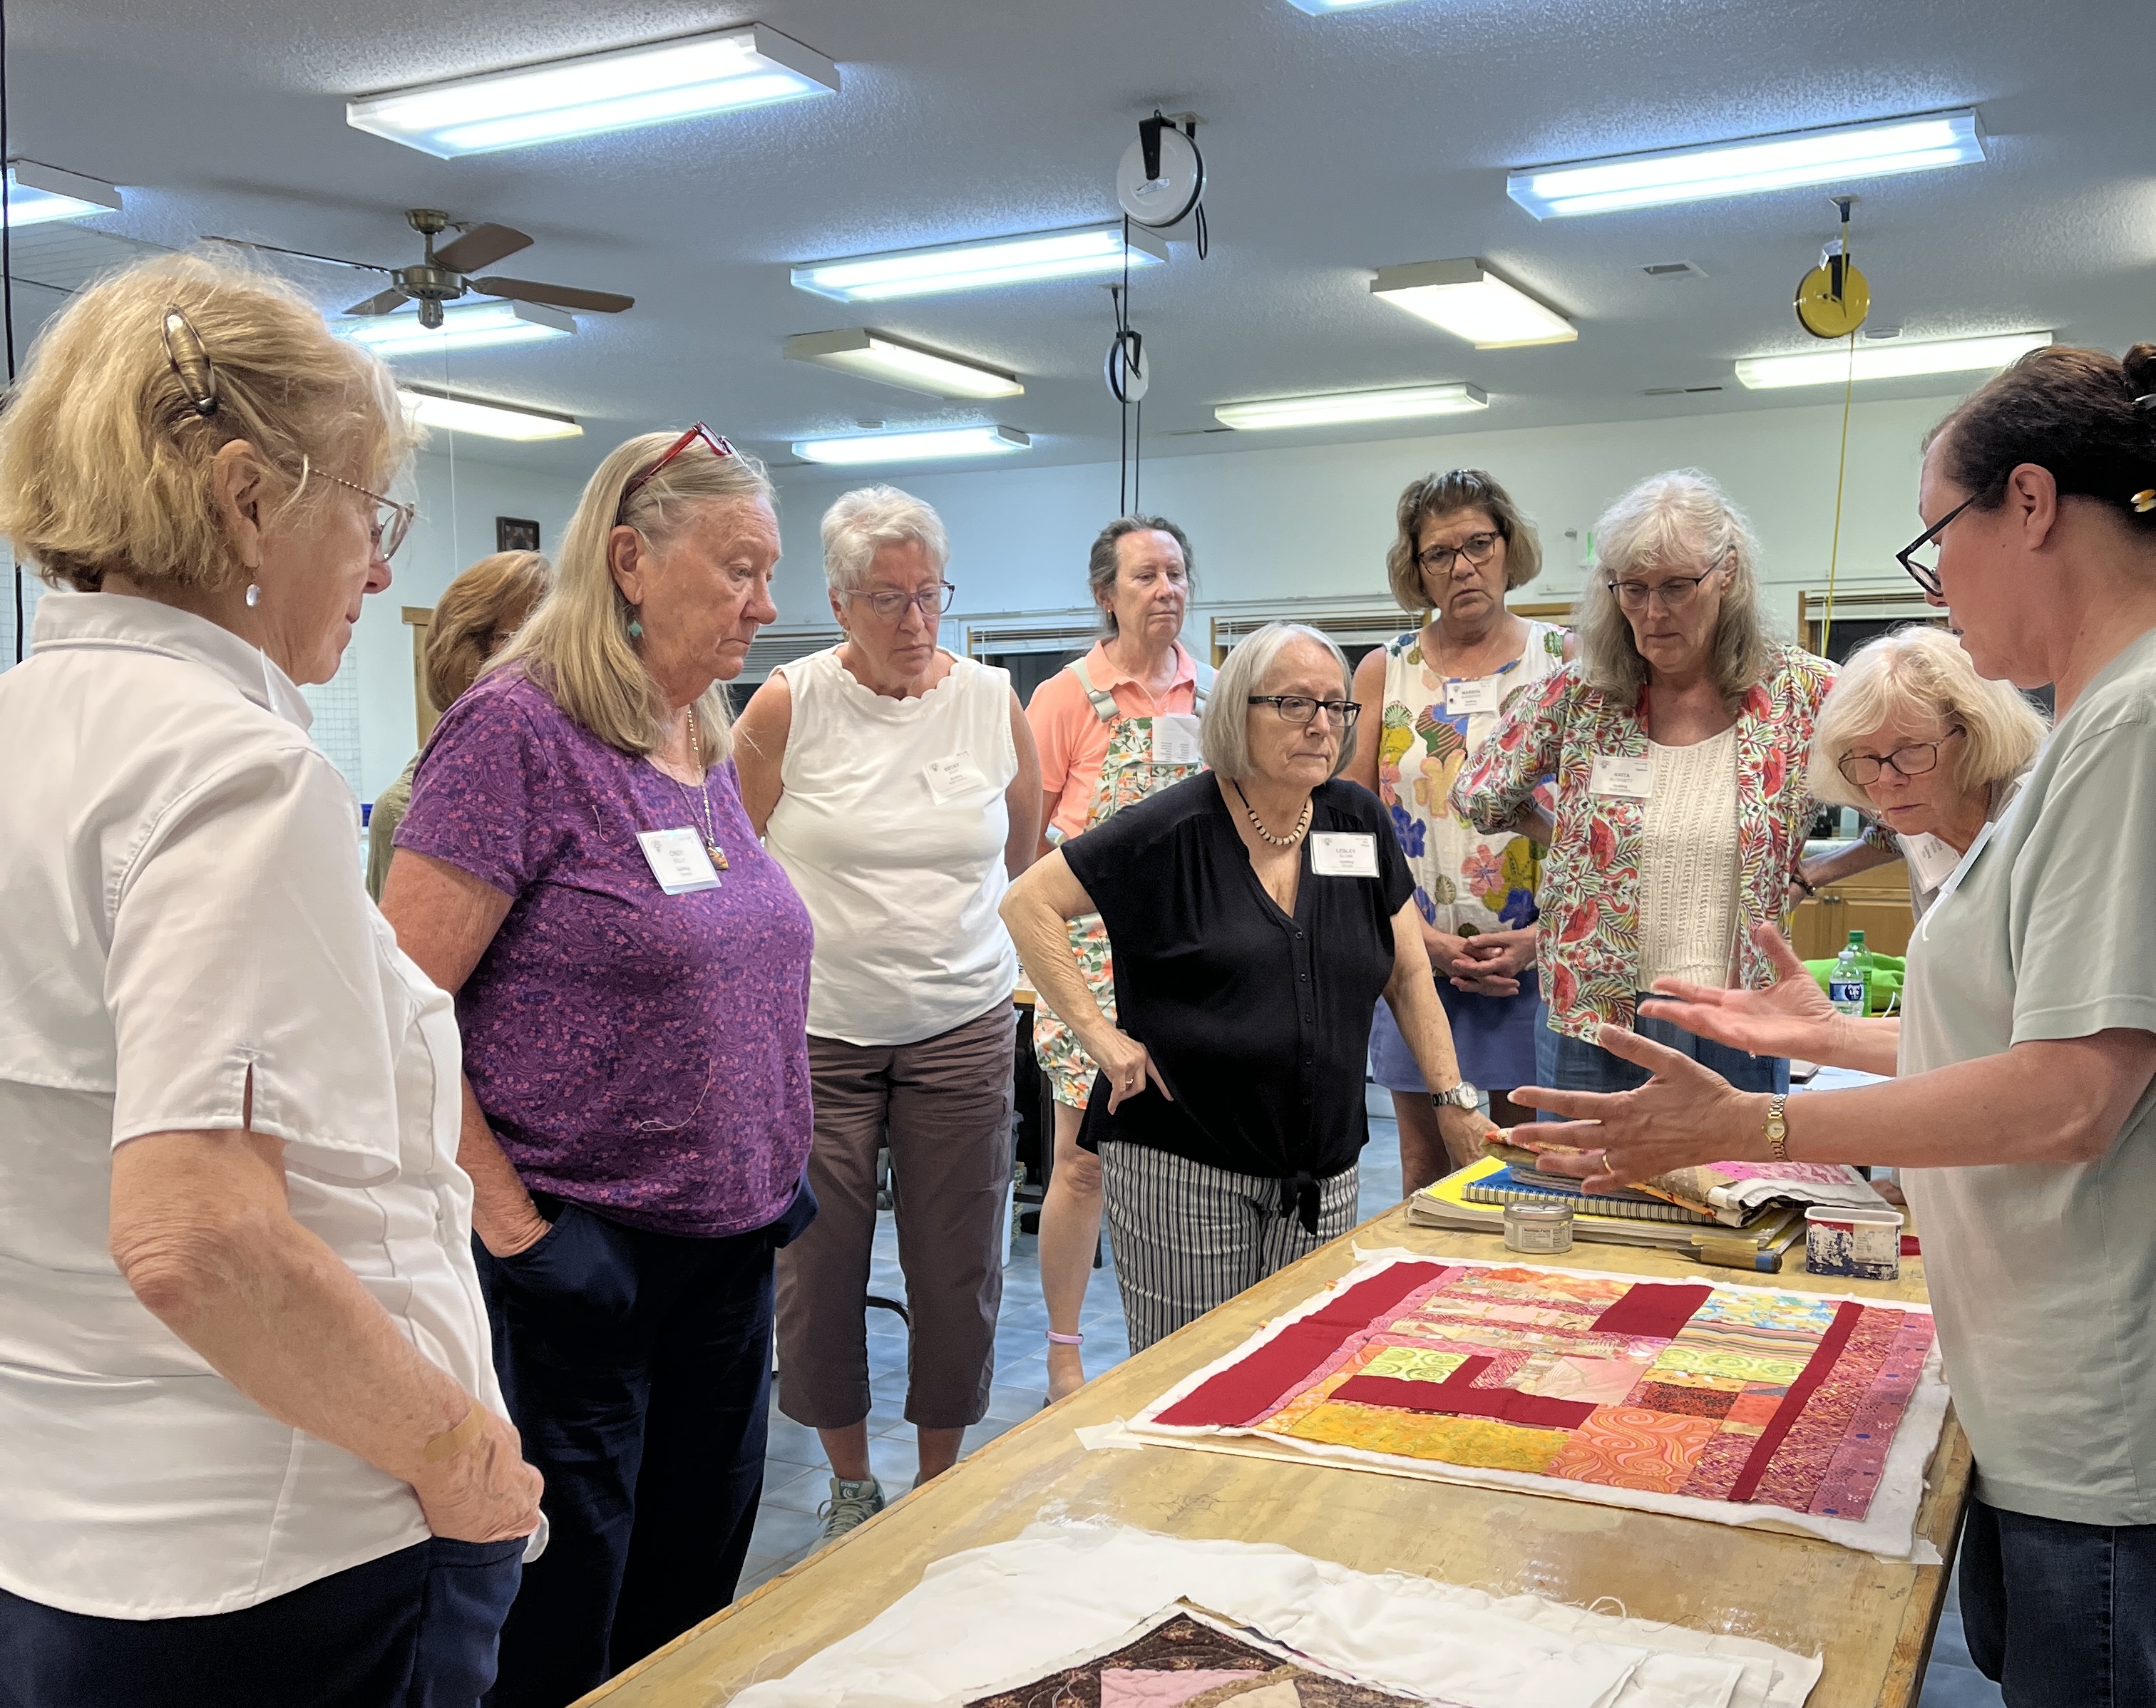
The first weekend in August, the quilting studio at the John C. Campbell Folk School in Brasstown, NC was buzzing with creativity and the hum of sewing machines as ten enthusiastic students gathered for a weekend workshop in the art of free-motion quilting. This was my third time teaching this subject at the Folk School and each time was a fantastic experience.

The first evening we discussed basting the quilt sandwich,

On the first evening, we started with the fundamentals: discussing terminology, machine setup, needle and thread choices. Basting the quilt sandwich and a demonstration of the Kwik Klip tool is a reminder that a well-basted quilt is one of the keys to successful free-motion quilting.


Drawing motifs for muscle memory

The next day, the hands-on exercises commenced with drawing continuous line motifs in a sketchbook. If you can draw it—or doodle it—you can quilt it, right?

Gayle draws continuous line designs.

Cindy practicing FMQ shapes in her sketchbook.

I love that eveyone’s interpretation of a motif is slightly different and shows the personality of the quilter. Just like we all use the same 26 letters of the alphabet but each person’s handwriting is unique.

Ruth drawing in her sketchbook.

Leslie (below) was quite adept at the continuous line patterns that involved the lower case “e” and “l” shapes as those letters are prominent in her name. We all like to draw the shapes we are most familiar, and those are a great place to start for free-motion quilting!

Leslie drawing in her sketchbook.

After practicing the basic shapes, the sketchbook pages slowly began to be filled with unique combinations of motifs, reflecting each student’s personality. 

Combining different patterns to create something new.


From drawing to quilting

From the sketchbooks, we turned to quilting on fabric quilt sandwiches.

Melanie practices free-motion quilting.

Exploring free-motion possibilities with feed dogs disengaged, students strived to balance the speed of the sewing machine with the speed in which they guided the quilt sandwich under the needle.

Leslie (left) and Karen concentrate on moving the quilt sandwiches. 

Jan practicing her free-motion quilting.

There were a few wobbly lines and hesitant curves at first, which is entirely expected and part of the learning process. But with each quilted line, curve, and swirl, confidence began to emerge.

Marsha practices continuous line motifs.

Becky stops to load a new bobbin.

Students began to embrace curved and geometric continuous line designs, how to travel across the surface connecting one motif to the next, and the meditative rhythm that makes free-motion quilting another opportunity to incorporate design and pattern into a quilt top. 


Drawing, watching, doing 

The quilting studio is equipped with a camera and large screen TV that facilitates live demonstrations of me doing free-motion at the sewing machine. Several students said they liked just watching me quilt various motifs—feathers, spirals, pebbles, etc—and traveling from one motif to the next in order to fill the space across the quilt top.

Large screen TV facilitates quilting demonstrations.

The studios at the Folk School are open in the evening should students like to work. Several students continued to practice in the quilting studio, and one student brought a small lap quilt top that we got basted.

My studio assistant, Geri (left) and Brittney. Brittney’s lap quilt is on the table.

I brought two scrappy charity quilt tops to work on after hours. I got both of these “kitty quilt tops” quilted and they are ready for binding.

The quilting studio with the sewing machines humming.

Recap

On the last day of my free-motion workshops, I ask students for their take-aways and “light bulb” moments. This helps me fine tune the class or the supply list for future workshops. Here are their comments: 

  • I would have thrown the quilt at the wall after the first hour if I was trying to learn this on my own from a book. Having [an instructor] watching me, answering questions, and advising in real time was beneficial to my learning. 
  • I learned that free-motion quilting is not a technique. It’s an art form. 
  • Now I understand the process. And I have “names” for the different parts of this process. 
  • Seeing your work was inspiring and provided more ideas [for quilting designs] than the basic meander pattern I thought I would be learning. 
  • I realized I [the machine speed] had to go faster for the stitches to be consistent and the lines smooth.
  • Working on “bigger” motifs helped.
  • Many stated they realized the relationship between drawing in the sketchbook and working at the sewing machine. 
  • Several students said they liked just watching me quilt various motifs—feathers, spirals, pebbles, etc—and maneuvering the quilt to fill the space with the designs. 
  • Realizing that the quilting contributed to the design of the quilt, students wanted more discussion on choosing quilting patterns to complement the patchwork. They were interested in how to approach the machine quilting as a design element and not just a functional aspect.

Overall, students thought the pace of the class was good and there was a mix of different exercises, demonstrations, and the show and tell. I also got suggestions for future classes, and the possibility of a full week free-motion class.

Thanks for a great weekend!

Thank you to all the students who traveled the distance to the Folk School to spend the weekend with me in my Intro to Free-motion Quilting class! You were a fabulous group, asked great questions, and you all made excellent progress in just a weekend. Thanks again to my wonderful studio assistant, Geri, for all you do to document our experience—with camera and computer—and keep me on track.

Thank you to Geri, my wonderful assistant.

And thank you to the staff at the John C. Campbell Folk School for providing such a nurturing creative space. Can’t wait to do it again soon!

Our friend outside the weaving and quilting studios patiently awaits our return.

The googly-eyed rock outside the fiber arts studios.


Sunday, May 18, 2025

Beginning free-motion quilting class, August 1-3

Do you want to quilt your own quilts? Does free-motion quilting pique your interest? Would you like to learn how to free-motion quilt using your home sewing machine? If you answered “Yes!” to any of these questions… join me at the John C.Campbell Folk School in August for “Intro to Free-motion Quilting.

Intro to Free-motion Quilting on your home sewing machine, August 1-3, 2025.
John C.Campbell Folk School.

Beginner level, no experience necessary!

This is a beginner level class.  No prior free-motion experience is necessary, but students must know how to operate a sewing machine. We’ll start with the basics and discuss the tools and techniques to get you up and running with successful free-motion quilting.

Free-motion quilting on a domestic sewing machine.

Topics include

In this workshop, we’ll discuss a myriad of topics for successful free-motion quilting, such as

  • quilting terminology
  • sewing machine set-up
  • threads, fiber content, thread weights
  • needles and needle sizes
  • choosing batting and preparing the quilt sandwich
  • helpful tools and supplies for free-motion quilting
  • tips for creating your own free-motion designs, and more.

Free-motion quilting designs.

In the Folk School’s spacious and well-lit quilting studio, students will learn and practice continuous line patterns that can be used with traditional or modern quilt styles. Should you be inspired and so inclined, the studio can be opened in the evenings for additional free-motion quilting exploration.


Practice makes progress

One of the ways I like to practice my free-motion quilting is with charity quilts. Here are examples of cuddle quilts (a guild community service project) and kitty quilts (that I donate to local veterinarians). 

Free-motion quilting on a cuddle quilt.

Free-motion quilting on a cuddle quilt.

I often bring a charity quilt top for demonstration purposes and go back to the quilting studio after dinner to spend time with the feed dogs dropped. 

Small charity quilts are a great canvas for practicing free-motion quilting.

With practice, students can easily achieve continuous line quilting designs such as these.

Kitty quilts for the local Cat Clinic.

Sign up for a weekend of free-motion quilting at the Folk School

Spend a weekend at the Folk School, learn a new skill, and meet new quilting friends. Sign up for this “Intro to Free-motion Quilting” weekend workshop (August 1 - 3, 2025) on the John C. Campbell Folk School website. There are limited spaces still available. 

View of the Folk School campus from one of the on-campus houses.

Nature abounds on the sprawling 270-acre campus of the John C. Campbell Folk School in Brasstown, North Carolina. Soak up the beauty and learn free-motion quilting, too. I hope to see you there!


Sunday, March 23, 2025

A week of Improv Quilting at the Folk School—Part II

We had such a wonderful week with improvisational quiltmaking at the John C. Campbell Folk School that I wanted to post a few more favorite moments from class.

Mari’s cute little pincushion.

Kristen decided on the background fabric.

Charlotte mastered skinny strip inserts.

The improv process and how the work progresses

There is always a first step with any new endeavor… actually, many first steps. Before taking that next step, you may have to stop to think about the options… before continuing the journey.

Contemplating…

With each improv exercise, students created patchwork units and put them up on the design walls. As the week progressed, the compositions evolved, were edited, and fine tuned. In my previous post about this class, you saw many “finished” pieces. But it’s always interesting to see the beginning and intermediate stages along the way—the options, turns, forks in the road, and yes, … sometimes the “unsewing.” 

Sue’s improv triangle piece.

Carol’s triangles, wedges, curved and strip piecing. Will they end up together?

Early progress with strips and rectangles (Mary Anne’s piece).

Mari brought in fabrics from her godmother’s clothing. She’s going to honor her godmother, Buggie, by making a bed quilt with the fabrics.

Getting a sense of the colors, prints, and values of the fabrics.

After doing research in books from the quilting studio’s library, Mari found a quilt block pattern that she wanted to use as the basis her design. 

Sketches, notes, measurements.

Here are the first sample blocks she made to test the measurements and construction.

Improv quilt blocks made from clothing.

For June, the patchwork from the curved piecing exercise turned into a striking background after she decided to take the rotary cutter to it.

Curved piecing.

A new composition.

Gwen found inspiration for another piece after we did the improv game. Here is the beginning of her Sawtooth Star block.

The improv game inspired the start of a new piece for Gwen.

The quilting studio

Photos of the work space from the week.


Contributions to a Folk School 100th anniversary project

The Folk School is celebrating its 100th anniversary. The celebration begins in 2025 with the Fall Festival and continues through the summer of 2026. Our improv quilting class contributed quilt blocks to a community quilt project that the Textiles and Natural Fibers department is organizing. Here are two of the blocks we contributed.

Improv block for the community quilt project.

This improv block for the community quilt was made entirely 
from fabric scraps found in the classroom.


We still make things!

One of the quilted wall hangings in the Community Room at the Folk School says, “We still make things.” I love this! Here are the hands that make the things.

The hands that make.

We still make things.

We make things with our hands.

The hands that make.

We still make things.

Below is one of my favorite photos of hands. You can discover a lot about a quilt top’s construction by examining the back.

Examining the construction.

Favorite comments from students

  • Students found the inspiration presentations very helpful. One person said the presentations were the workshop “fertilizer” to spark ideas. (Fertilizer is only good if you spread it around, right?)

  • Check the Spare Parts Division! Even the weavers from the adjoining studio took advantage of our scrap box.

Geri Forkner, the weaving instructor in an adjacent studio, encouraged students in her
“Runs with Scissors” class to raid the scrap bins in other studios.

  • At the end of the week, I was labeled as being a bad influence… because now students are saving the smallest of scraps! (I think this is a good thing.)


Show and Tell

I bring examples of my improv work for a Show and Tell with my students. It’s fun to revisit these quilts and share their stories with a new audience.

“Blue Rhino Moon” improv quilt.

Below is “Guitar Strings Improv,” the quilt I made in 2015 that was featured in Sherri Lynn Wood’s book, “The Improv Handbook for Modern Quilters.”

“Guitar Strings Improv” from The Improv Handbook for Modern Quilters.

The process for “Alone Together” (shown below) is documented in this post. The quilting is documented in this post, and includes the quilt stats (information about threads, thread weights, batting, and how long it took to free-motion quilt it).

“Alone Together” was a Guild Challenge quilt.

I had a fun time sharing the improv quilting processes with my students. And I was so inspired by the work they accomplished in just one week. Thanks for a wonderful experience!


Related Posts Plugin for WordPress, Blogger...